How to install WordPress?
WordPress as the most popular blog platform is well-known for its ease of use. If you are a beginner, WordPress is probably the best choice to start your adventure with Content Management Systems. It is no different, when it comes to installation. The whole process consists of few simple steps and it should take less than 5 minutes to complete.
These days, a lot of hosting providers allow to install WordPress automatically using one-click button. In this tutorial we are going to focus on manual WordPress installation which you can perform on each hosting, no matter if it includes one-click installation or not.
WordPress Technical Requirements
Before you start, you should make sure that your hosting meets the minimum requirements to run WordPress. This way you may save a lot of time and nerves if things go wrong during installation.
Minimum requirements:
- PHP version 5.2.4 or greater
- MySQL version 5.0 or greater
The minimum requirements are enough to run WordPress but these versions have reached End Of Life and it is not safe to use them for the security reasons.
Recommended requirements:
- PHP version 5.6 or greater
- MySQL 5.6 or greater
- Apache or Nginx
- mod_rewrite Apache module
Always current requirements you can see on this page: https://wordpress.org/about/requirements/
Step 1: Download and unzip files
Once you are sure that your hosting supports WordPress, you may proceed to download the WordPress installation package. The latest stable version you can download from the official WordPress site: https://wordpress.org/download/
Unpack the ZIP file and you should have the "wordpress" folder.
Step 2: Upload WordPress files
Now, you need to upload the contents of the "wordpress" folder into the root directory of your website on your web server. To do that you can use an FTP client, for example Filezilla, or you can use a file manager in the control panel of your hosting.
If you decide to use Filezilla, here you can read more on how to use it: https://wiki.filezilla-project.org/Using
Step 3: Launch the WordPress installation script
After uploading WordPress files on your web server, you may proceed to start WordPress installation.
If you have located your files in the root directory then you should be able to launch the installation script by entering your domain name in a web browser: http://example.com/
If you have located your files in a subdirectory, for example "wordpress", then you should open this link: http://example.com/wordpress/
Step 4: Choose a language

The first page of the installation script asks you for choosing a language of the process. Once you select your desired language click on "Continue".
Step 5: Collect database connection details
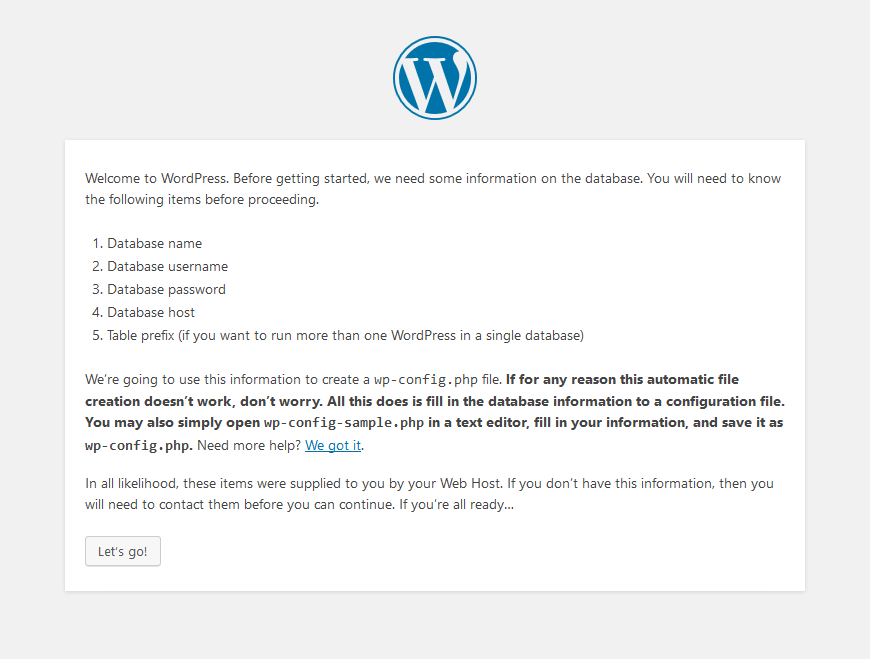
On the next page you will be asked to prepare the necessary database details for completing the WordPress installation. You need to collect:
- Database name
- Database username
- Database password
- Database host name
All this information you should get from the control panel of your hosting. If you do not know how to collect them, then you will need to contact your hosting support for more help.
Once you are ready to move on, click on "Let’s go!".
Step 6: Enter database connection details
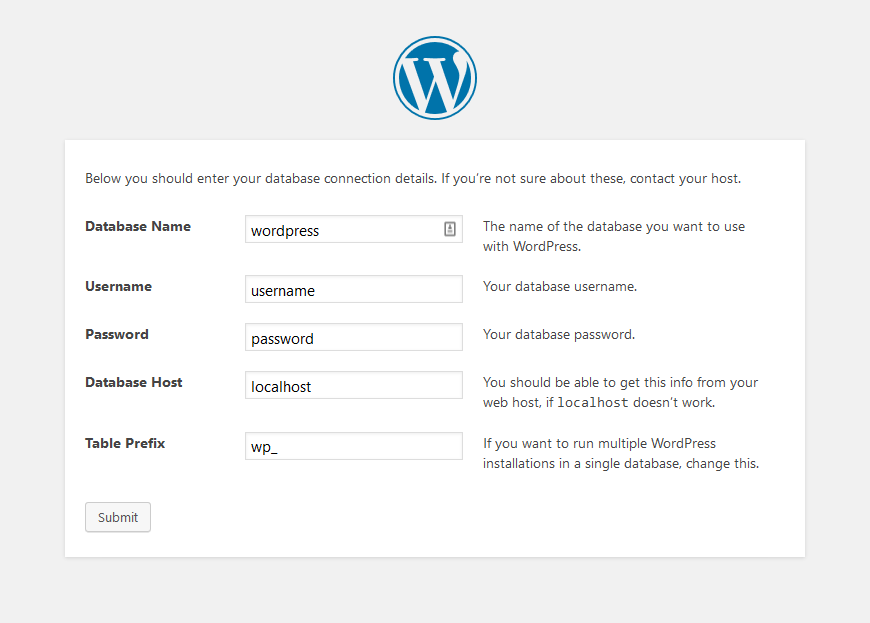
On this page you need to enter your database details that you have collected in the previous step. Once you have filled all of them, click on "Submit".
After that, WordPress will check if your details are correct and the database connection can be established. If you have entered some wrong details or, for example, your database user does not have enough privileges on database, then you may see an error message: error establishing a database connection.
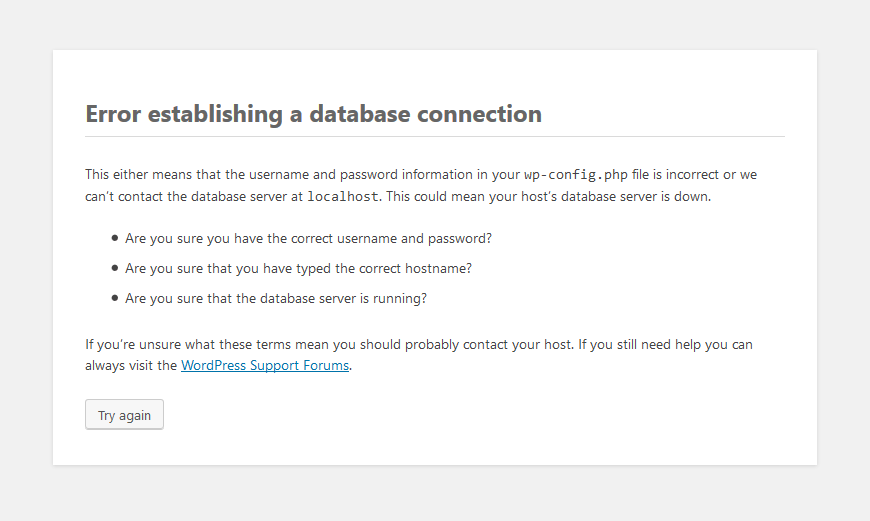
If you will see this message, click on "Try again" to go back to the previous page to verify your database details. After checking them, click on "Submit" once again and you should see a message about successful connection to your database.
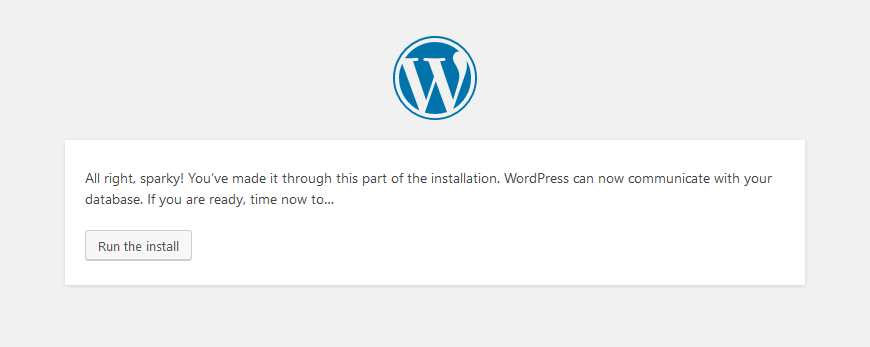
Click on "Run the install" to move on.
Step 7: Setup administrator account
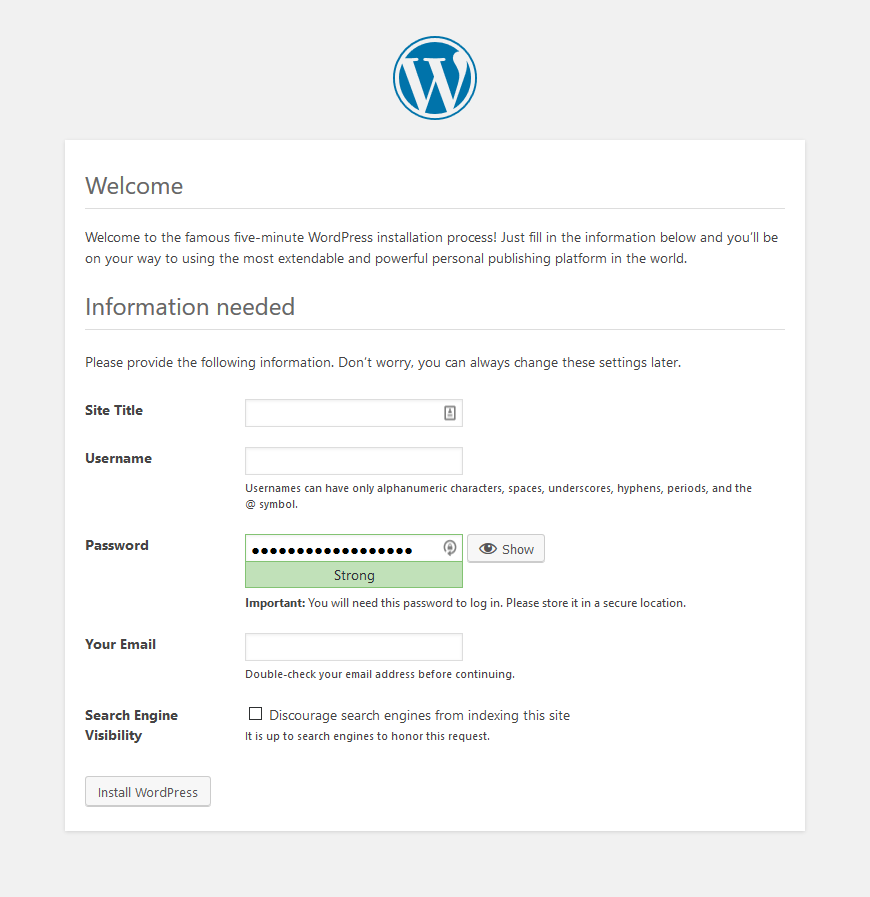
On this page you will need to fill in some basic information about your website and WordPress administrator account.
Title - enter a site title. This title appears, for example, on the browser bar or in the search results.
Username - enter your administrator username.
Password - enter a password for your administrator account. This password you will need to log in. You should keep it in a safe place.
Your Email - enter an email address for your administrator account. This email address will be used to receive any notifications or information from WordPress system.
Search Engine Visibility - check this option if you do not want to index your site by the search engines.
Once you have completed, you can move on by clicking on "Install WordPress". After that you should see a confirmation that WordPress has been installed successfully.
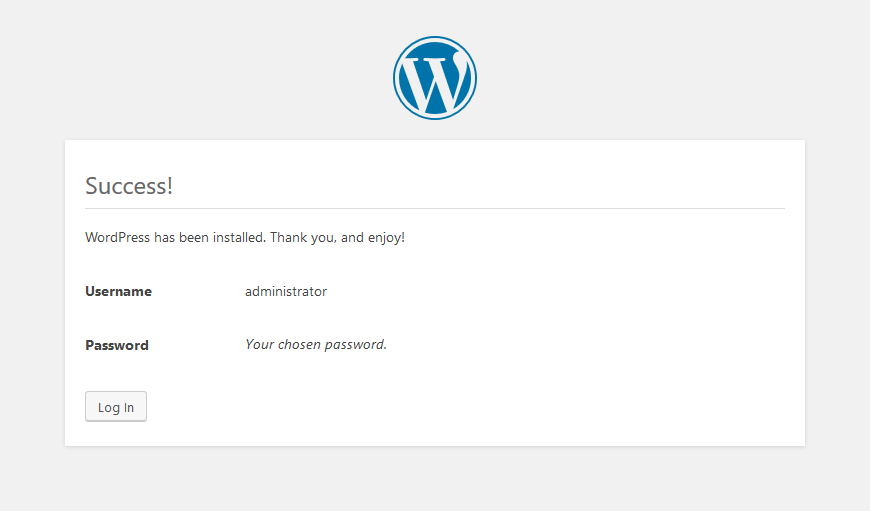
Now, you are ready to log in for the first time to your WordPress website.