How to install WordPress on localhost?
Sometimes there is a need to work on WordPress website locally, for security purposes or when we do not have internet access. How to do that? You need to make a simple local server with PHP and MySQL on our computer by using a web development environment.
I will show you how to install WordPress on localhost using WAMP. Please follow the step by step guide:
1. Download WAMP.
2. Install WAMP ( the installation process is very simple, no need to change any options)
3. Now you should have desktop icon "Wampserver64" or "Wampserver32"
4. Double click on it and you will see the new icon on your taskbar. This means that WAMP is active.

5. Now you can create a database for your fresh WordPress installation. Open this address in your browser: http://localhost/phpmyadmin/ . You will see the following login form.
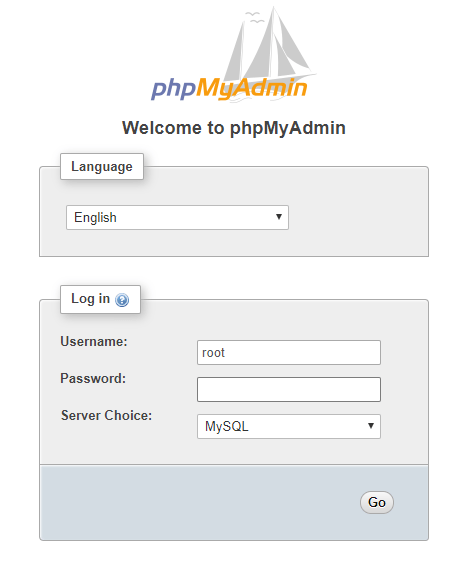
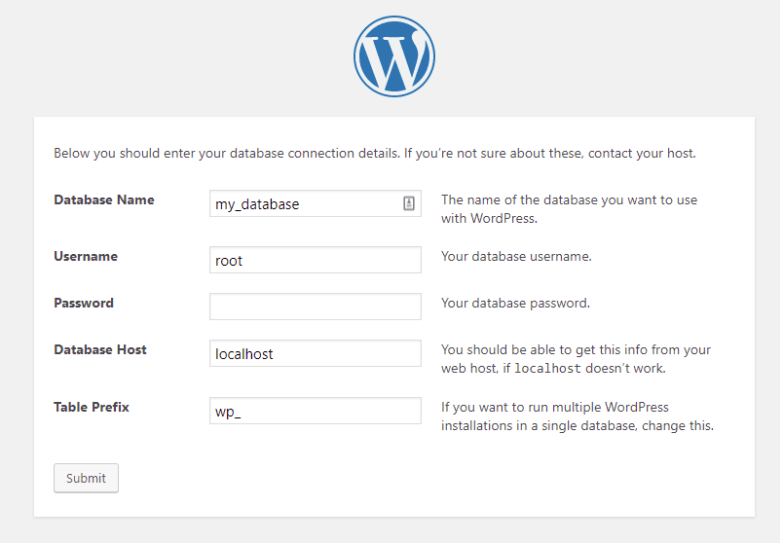
6. Use root as a login username and leave the password blank. Then click Go. Hurray! :) You have logged in. Now you can create database,
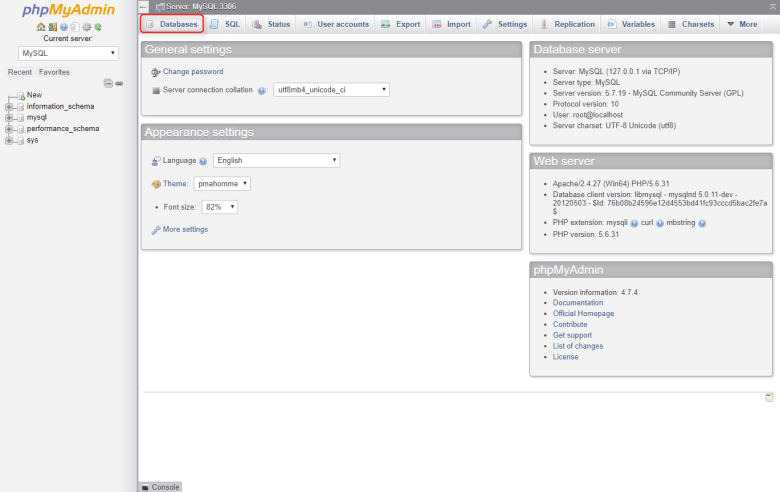
7. Click on Databases.
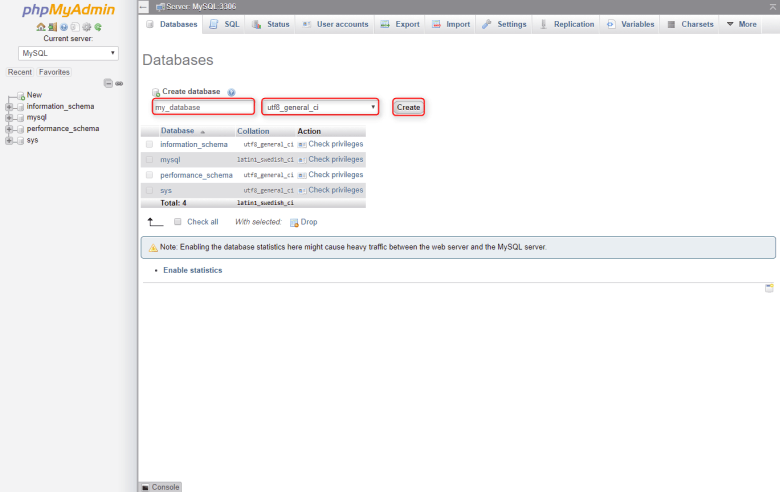
8. Now enter the database name, ex. my_database, collation utf8_general_ci and click Create. Boom - database is ready to go :-)
9. Go to your WAMP directory (usually C:\wamp64\www) and create here new directory, ex. my_wordpress, extract here the recent version of Wordpress downloaded from here.
10. Now enter address localhost/my_wordpress in your browser. You should see initial WordPress installation screen.
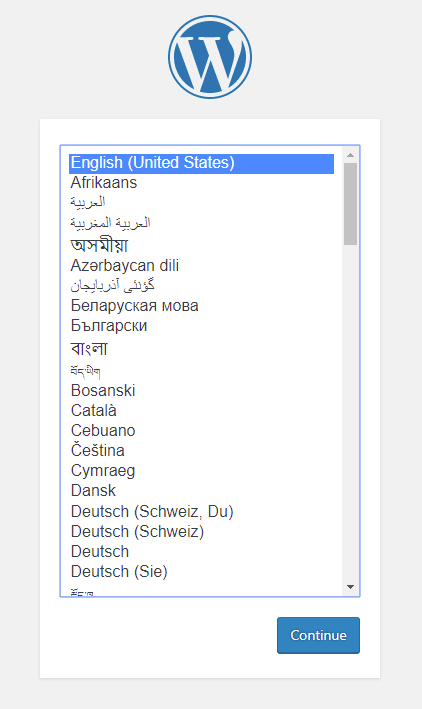
11. From now installation is the same as on a typical WWW server. Please follow our tutorial from step 4.
12. Please take a look for sure on this screen with database credentials that we use on our WAMP server.
Have fun with WordPress on your own computer :-)