PE Beauty Center WordPress theme manual
A. GENERAL
1. Introduction
This documentation is last updated on 26th June 2017.
Thank you for purchasing PE Beauty Center Theme . If you have any question that is beyond the scope of this documentation, Please feel free to create a support ticket using Our Support Site.
If you like this theme, Please support us by rating this theme with 5 stars.
Before you start please choose if you want :
- manual import demo content
- use Quickstart package
If you choose Quickstart option please skip points A2 and A3.
2. Installing the Theme
3. Install Plugins
4. Demo Copy installation (option 1)
5. Manual Demo Content Import (option 2)
Demo Site Configuration
Configure Main Menu
Configure Top Bar Menu
You can add Top Bar Menu by adding Custom Menu widget.
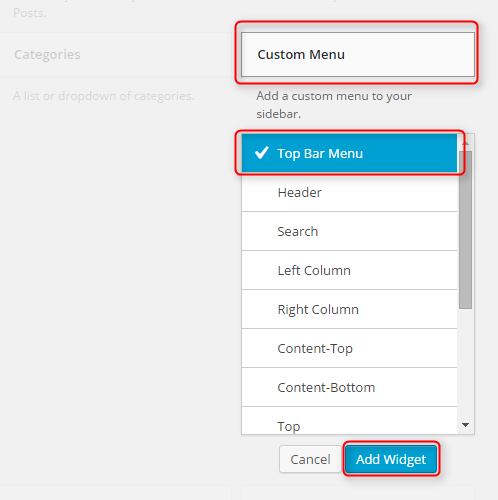
Choose menu to display and click Save. Note that widget title for sidebar Top Bar Menu will not be displayed.


Configure Reading Settings
B. THEME OPTIONS
1. General Settings
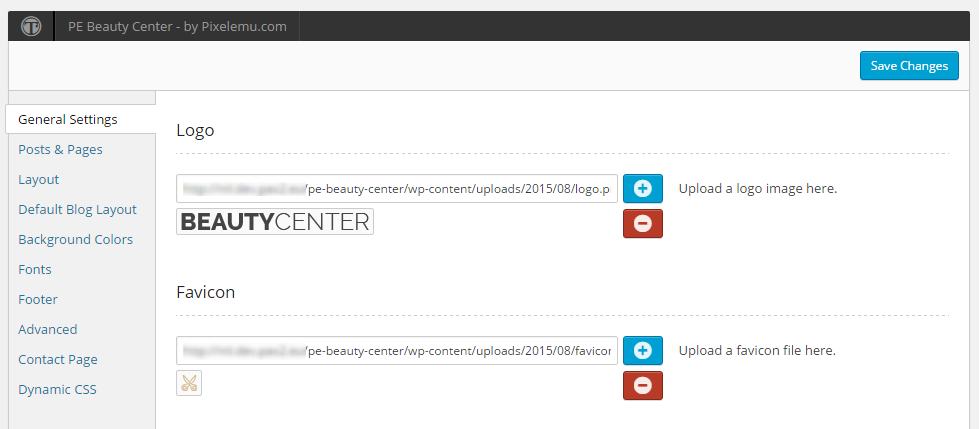
To setup Logo, navigate to Theme Options, click on General Settings tab and then click on PLUS icon in Logo section. Preffered dimensions: 188 x 17px.
To setup Favicon, navigate to Theme Options, click on General Settings tab and then click on PLUS icon in Favicon section.
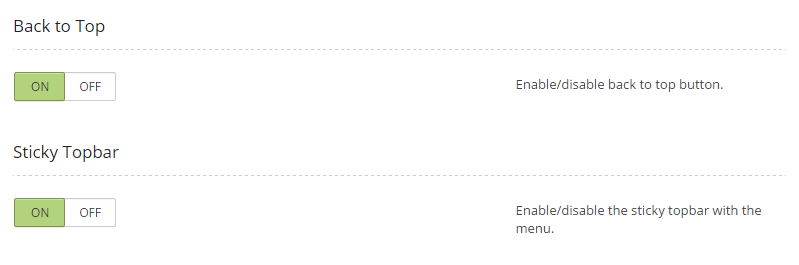
Choose if you want Back to Top button - click ON or OFF.
Choose if you want Sticky Topbar - click ON or OFF.
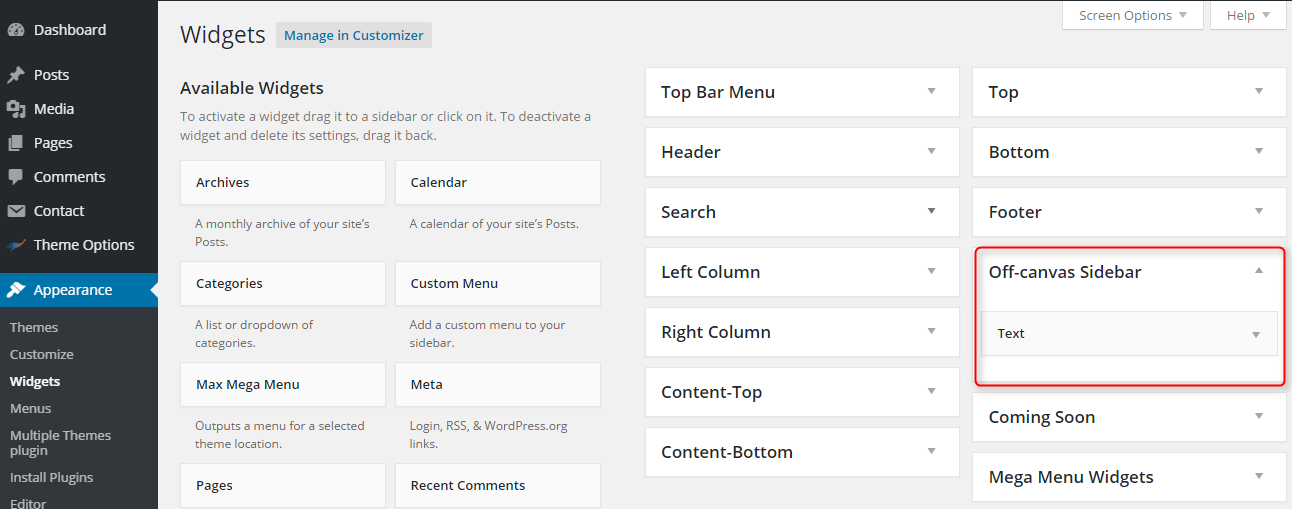
Choose if you want to have Off-Canvas sidebar. You can change it's width and position.
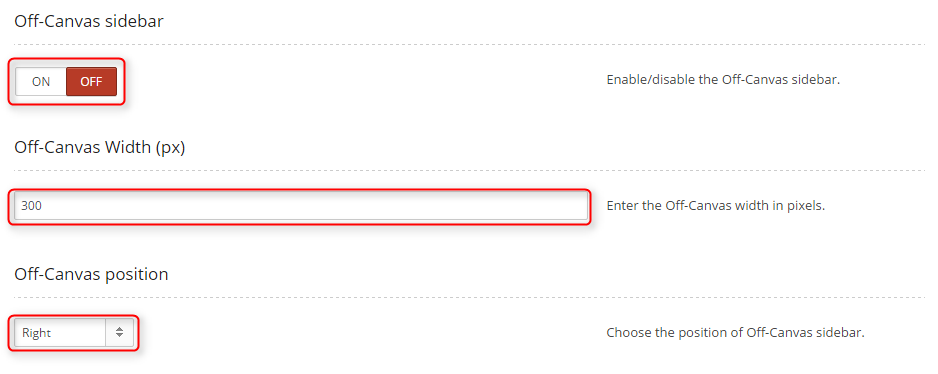
You can now publish widgets in sidebar Off-canvas sidebar. If you will not publish any wiget here, the Off-canvas sidebar will not apear.
You can also turn your website into Coming Soon mode and select date until it will be in this mode.
If you are logged in as administrator you will not see Coming Soon page.
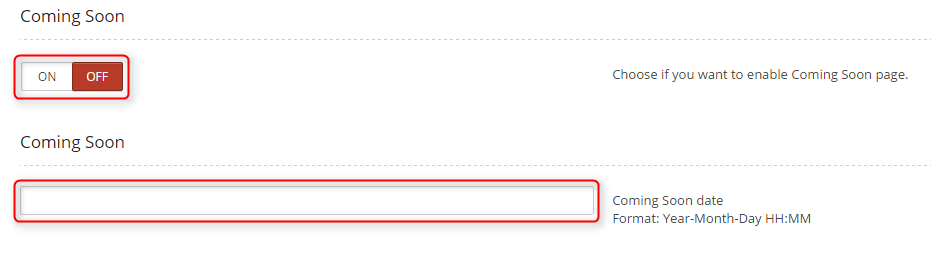
Remember to set correct timezone for your region in Settings -> General.

Click Save Changes when you are done.

2. Posts & Pages
To setup Posts and Pages options, navigate to Theme Options and click on Posts and Pages tab.
Choose if you want display Font Sizer on Front Page - click ON or OFF.
Choose if you want display Page Title on Front Page - click ON or OFF.

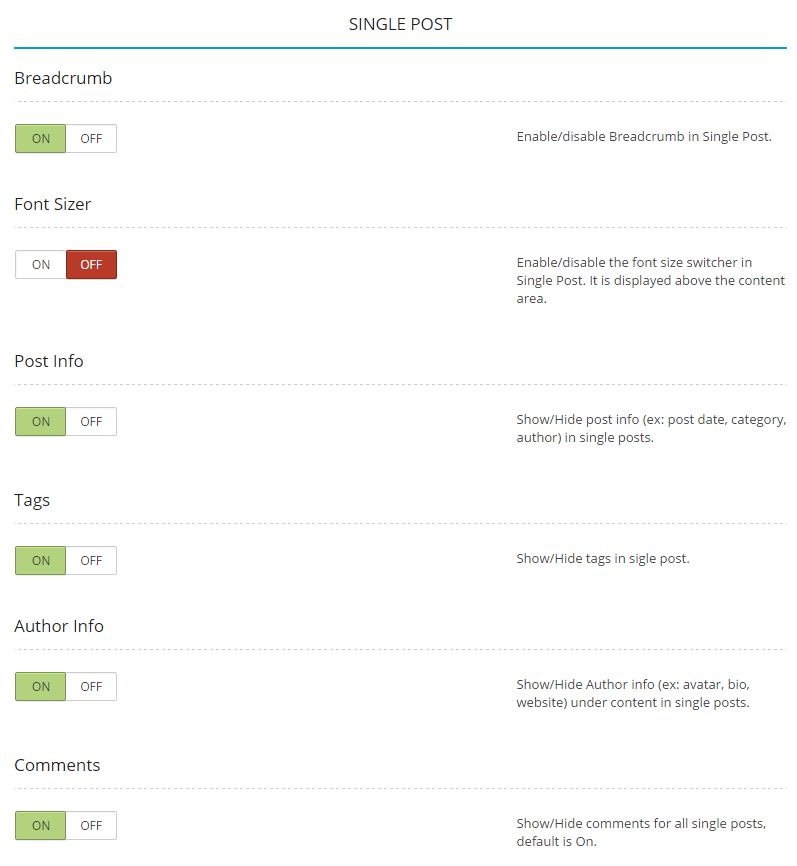
Choose if you want display Breadcrumb on Single Post - click ON or OFF.
Choose if you want display Font Sizer on Single Post - click ON or OFF.
Choose if you want display Post Details on Single Post - click ON or OFF.
Choose if you want display Tags on Single Post - click ON or OFF.
Choose if you want display Author info on Single Post - click ON or OFF.
Choose if you want display Comments on Single Post - click ON or OFF.
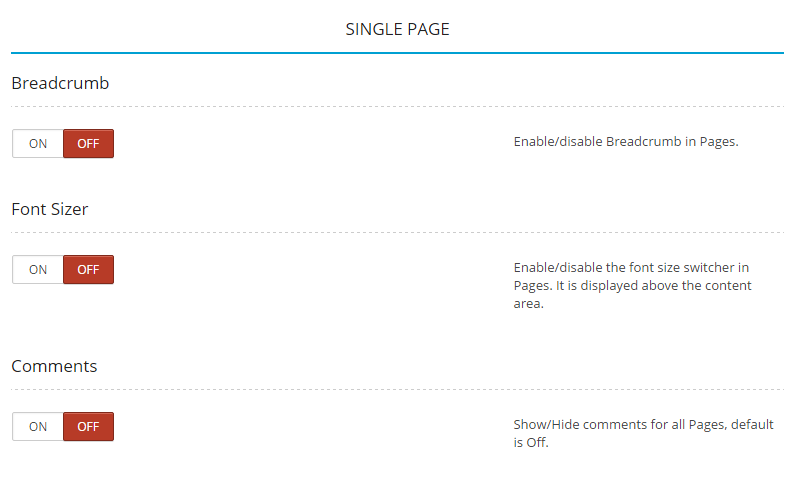
Choose if you want display Breadcrumb on Single Page - click ON or OFF.
Choose if you want display Font Sizer on Single Page - click ON or OFF.
Choose if you want display Comments on Single Page - click ON or OFF.
Choose if you want display Breadcrumb on Single Service - click ON or OFF.
Choose if you want display Font Sizer on Single Serivce - click ON or OFF.

Choose if you want display Breadcrumb on Single Member Page - click ON or OFF.
Choose if you want display Font Sizer on Single Member Page - click ON or OFF.
Choose size of the image on Single Member Page - select Small Image or Large Image. Preffered dimensions: 135 x 90px and 1024 x 1024px.
Choose if you want display Social Links on Single Member Page - click ON or OFF.
Choose if you want display Contact Info on Single Member Page - click ON or OFF.

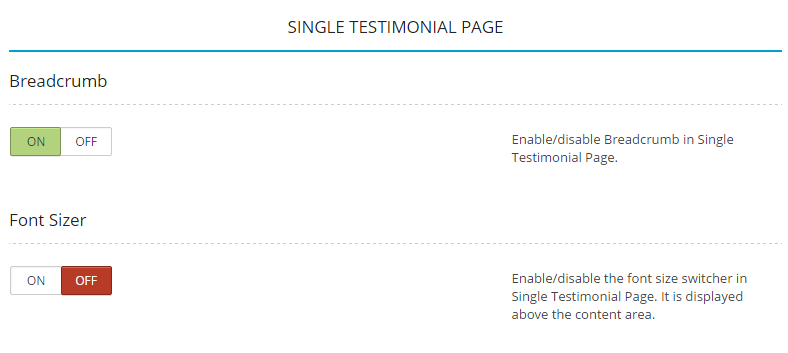
Choose if you want display Breadcrumb on Single Testimonial Page - click ON or OFF.
Choose if you want display Font Sizer on Single Testimonial Page - click ON or OFF.
3. Layout
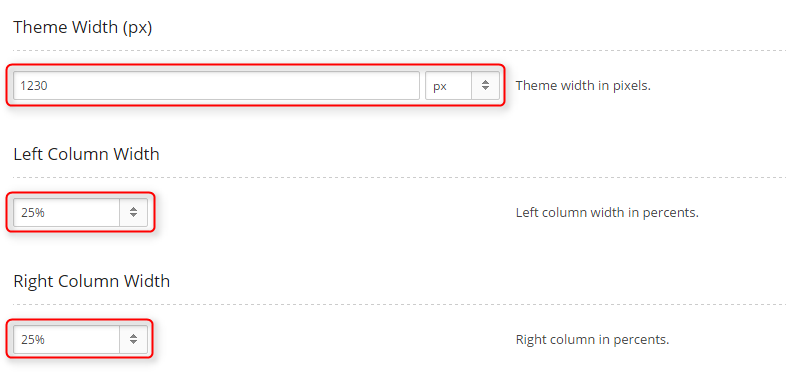
To setup Layout, navigate to Theme Options and click on Layout tab.
You can set theme width in pixels and width of Left Column and Right Column.
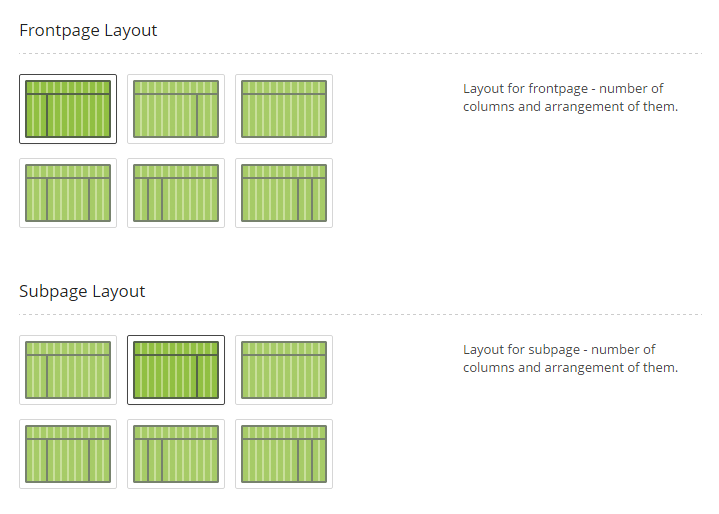
You can select number of columns and arrangement of them for frontpage and subpage separately.
You can choose:
- Left Sidebar
- Right Sidebar
- Full width (no sidebar)
- Dual Siebar
- Left Dual Sidebar
- Right Dual Sidebar
Click Save Changes when you are done.
4. Default Blog Layout
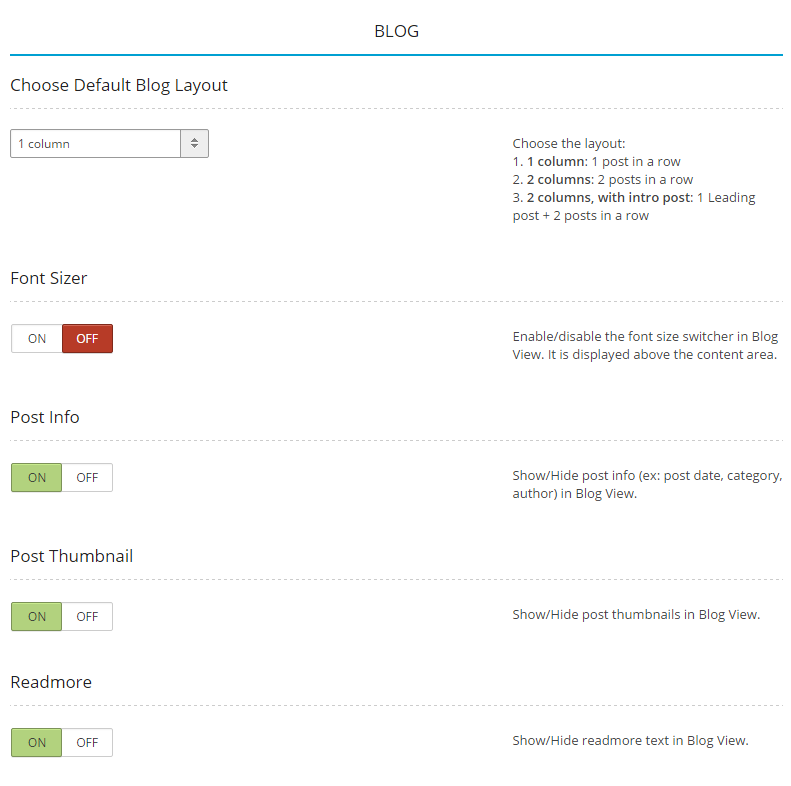
To setup Default Blog Layout, navigate to Theme Options and click on Default Blog Layout tab.
You can select number of columns for Default Blog Layout:
- 1 column
- 2 columns
- 2 columns with intro post
Numer of chars in intro text is controlled with read more button. Otherwise the intro will include 55 words by default.
Also you can choose to turn on or turn off Font Sizer, Post Info, Post Thumbnail and Readmore.
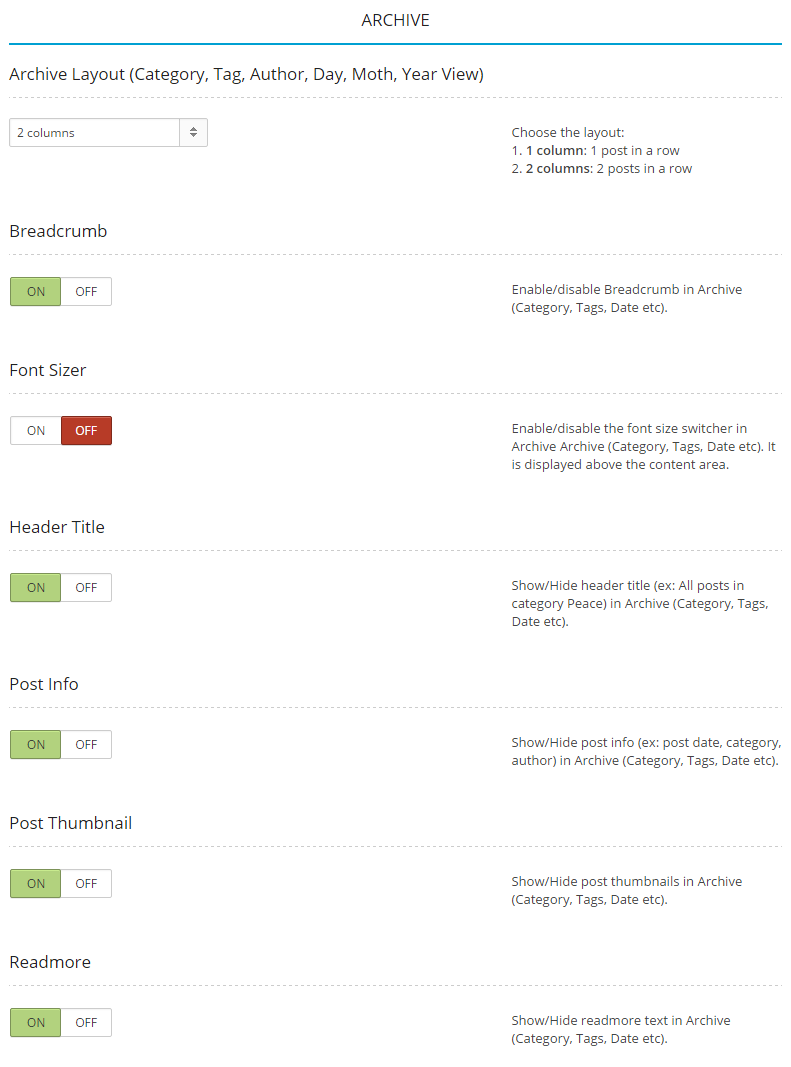
You can select number of columns for Archive Layout.
Also you can choose to turn on or turn off Breadcrumb, Font Sizer, Header Title, Post Info, Post Thumbnail and Readmore.
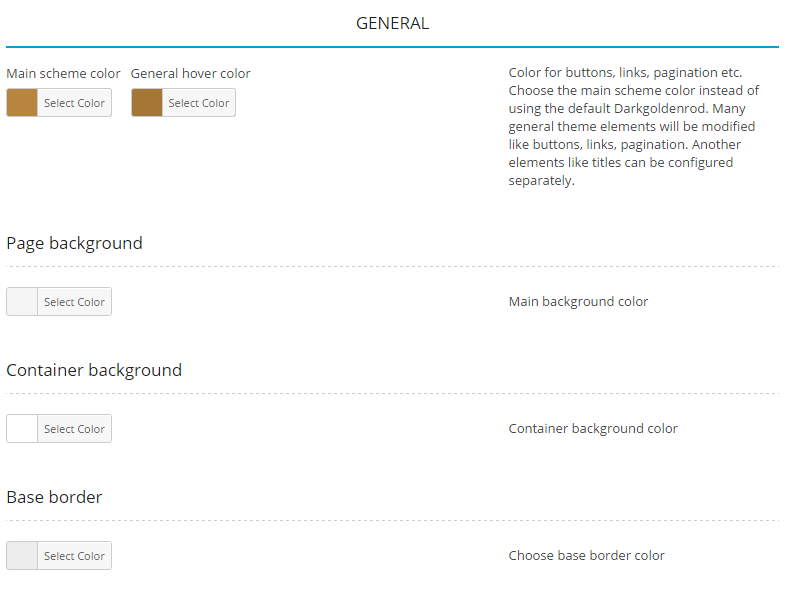
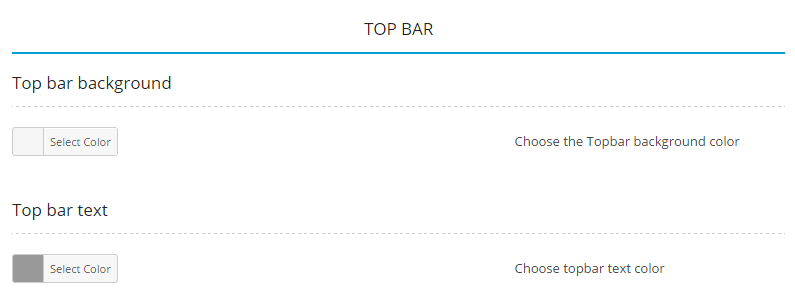
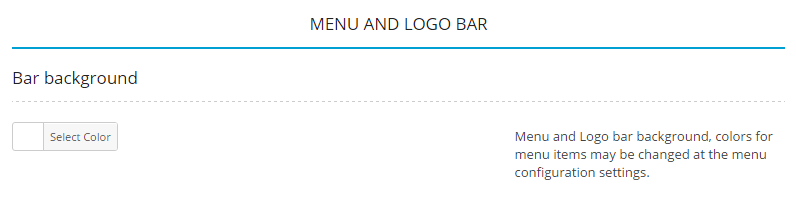
5. Background Colors
To setup Background Colors, navigate to Appearance > Theme Options and click on Background Colors tab.
You can choose here colors for many areas:
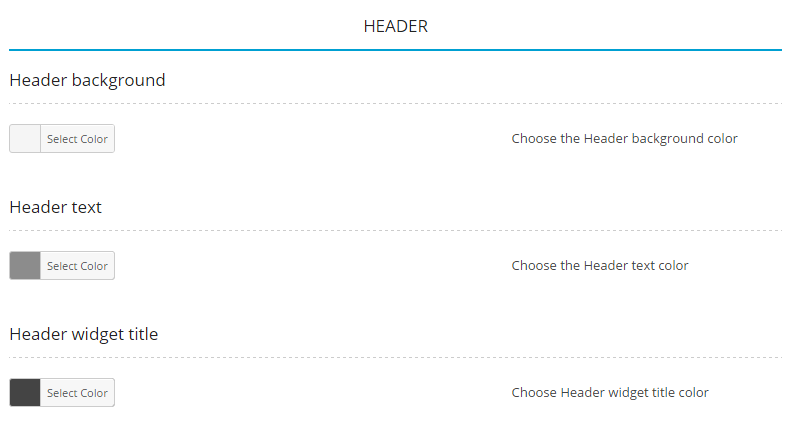
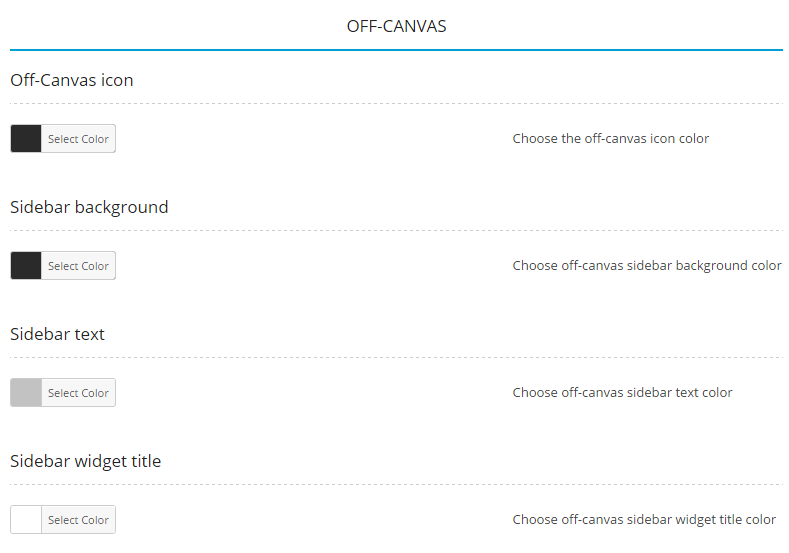
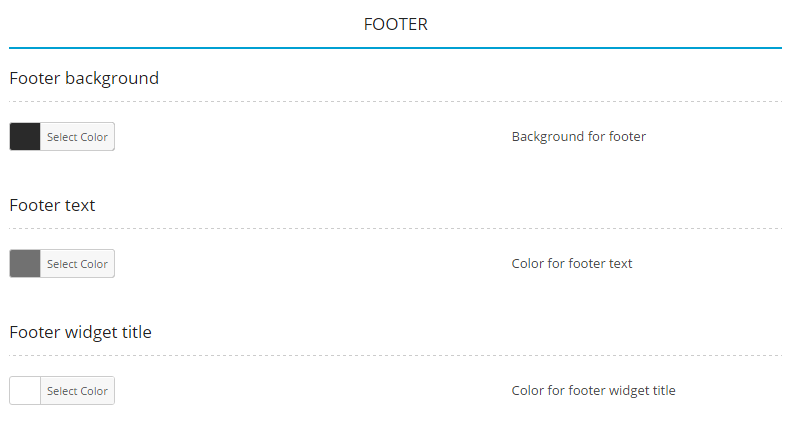
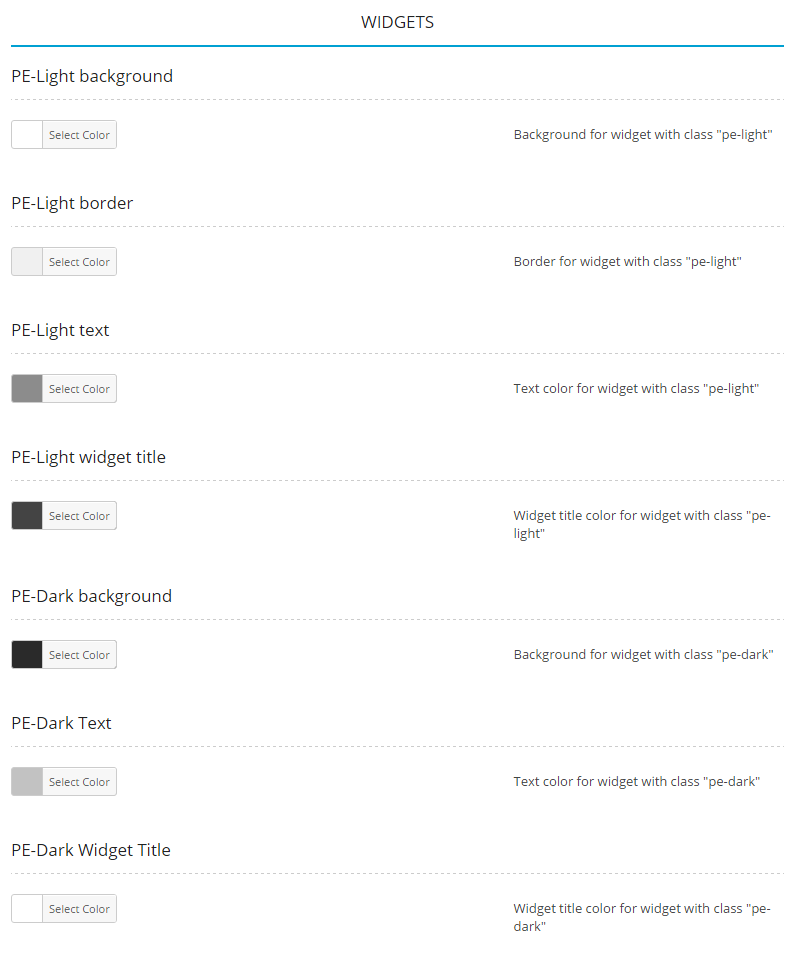
Click Save Changes when you are done.
6. Fonts
To setup Fonts, navigate to Theme Options and click on Fonts tab.
You can add more fonts by clicking on Add Google Font button and then choose one of many fonts with additional options (font-weight, font-style, character sets).
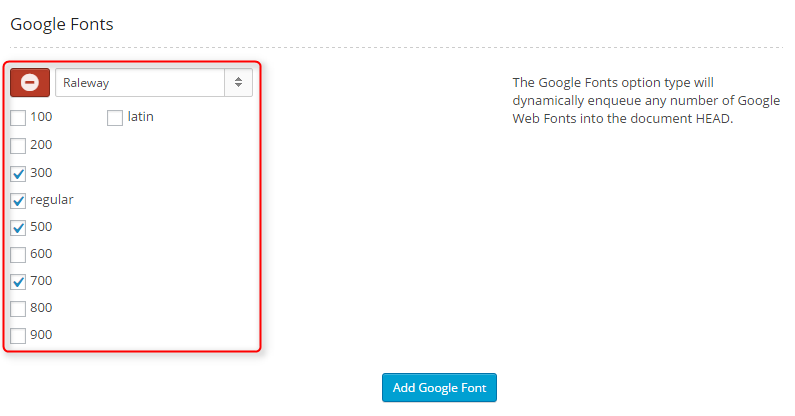
You need to click on Save Changes to be able to use that new font.
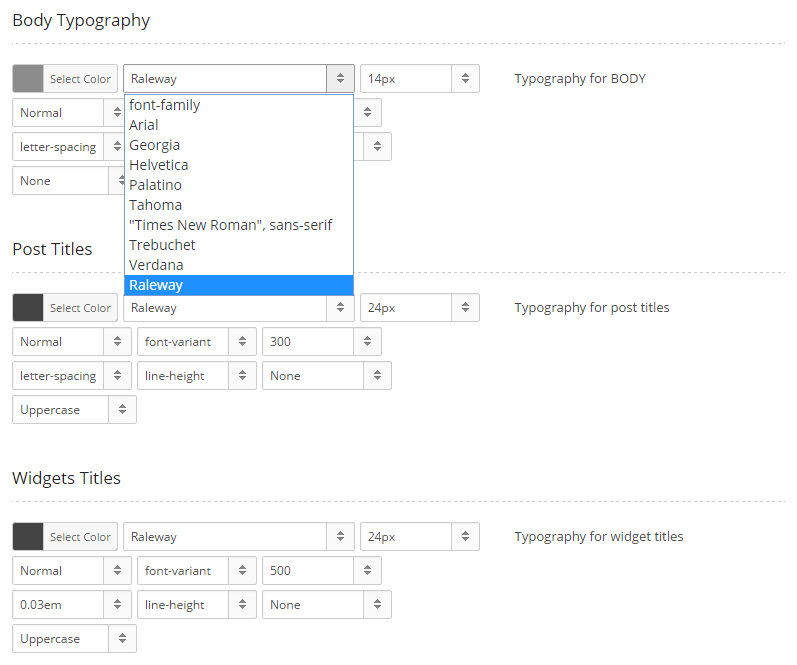
You can now add this new font for Body Typography, Post Titles and Widgets Titles
Click Save Changes when you are done.
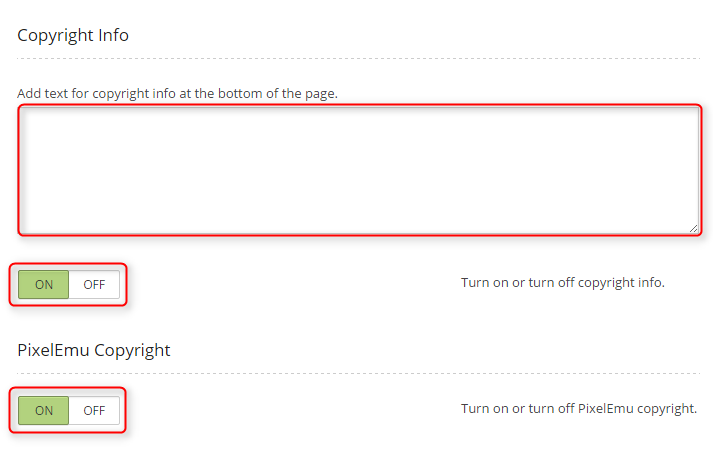
7. Footer
To setup Footer, navigate to Theme Options and click on Footer tab.
You can enter here copright info text.
Choose if you want to show your copyright text - click ON or OFF.
Choose if you want to show PixelEmu copyright - click ON or OFF.
You can add social links to profiles on Facebook, Twitter, LinkedIn and Skype.
Click Edit (pencil) icon and enter values for attributes Title and Link.
Please do not change field Name.
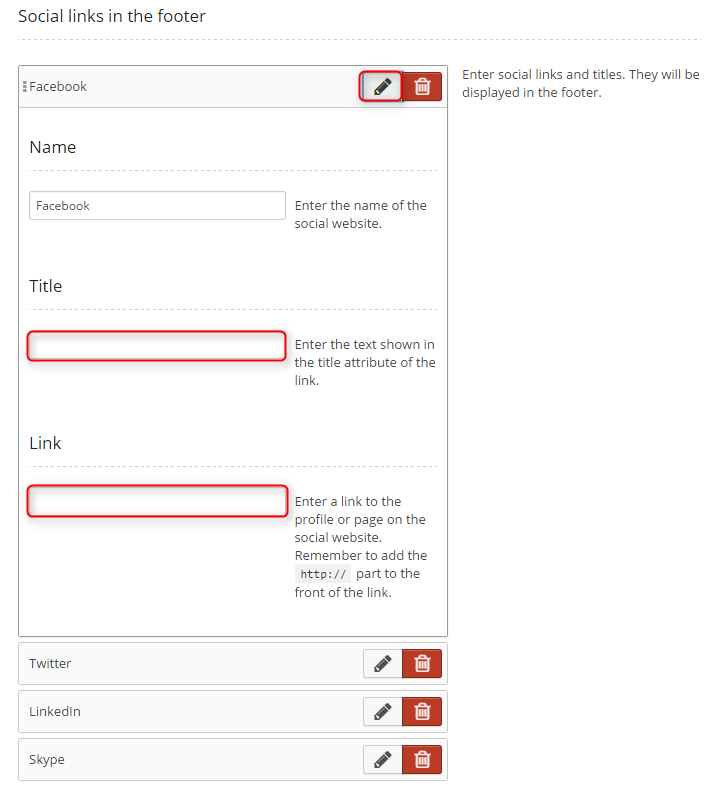
You can change the order of these social links using drag & drop mechanism.
Click Save Changes when you are done.
8. Advanced
To setup Advanced options, navigate to Theme Options and click on Advanced tab.
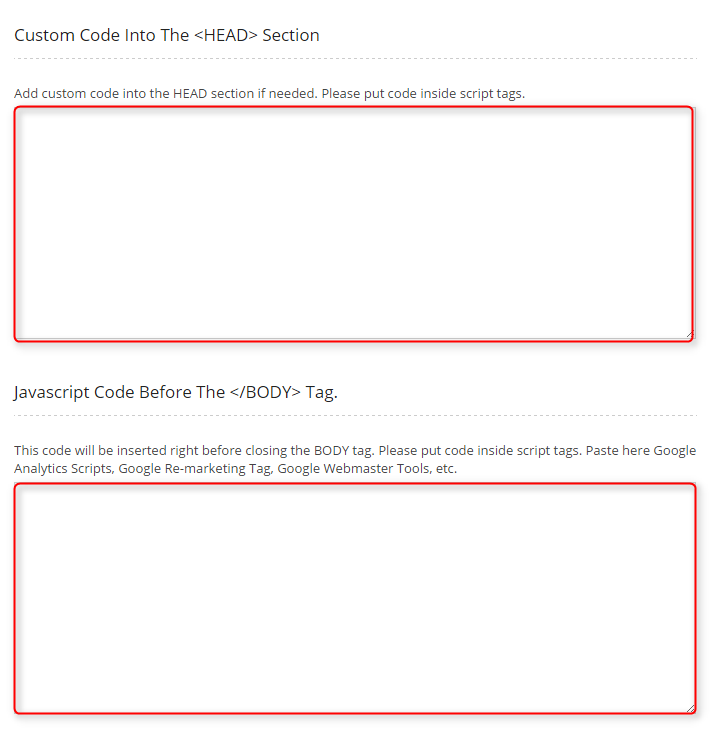
Custom Code Into TheSection - Please put code inside script tags.
Javascript Code Before The Tag - This code will be inserted right before closing the BODY tag. Please put code inside script tags. Paste here Google Analytics Scripts, Google Re-marketing Tag, Google Webmaster Tools, etc.
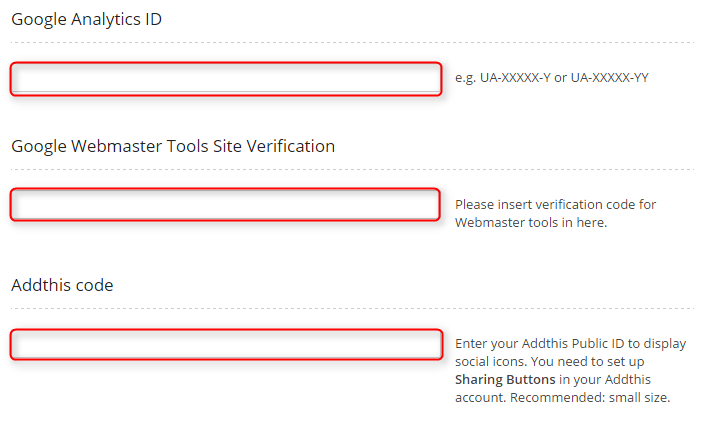
Google Analytics ID - enter your Google Analytics ID in format: UA-XXXXX-Y or UA-XXXXX-YY
Google Webmaster Tools Site Verification - please insert verification code for Webmaster tools in here.
Addthis code - enter your Addthis Public ID to display social icons. You need to set up Sharing Buttons in your Addthis account. Recommended: small size.
Click Save Changes when you are done.
9. Contact Page
To setup Contact Page options, navigate to Theme Options and click on Contact Page tab.
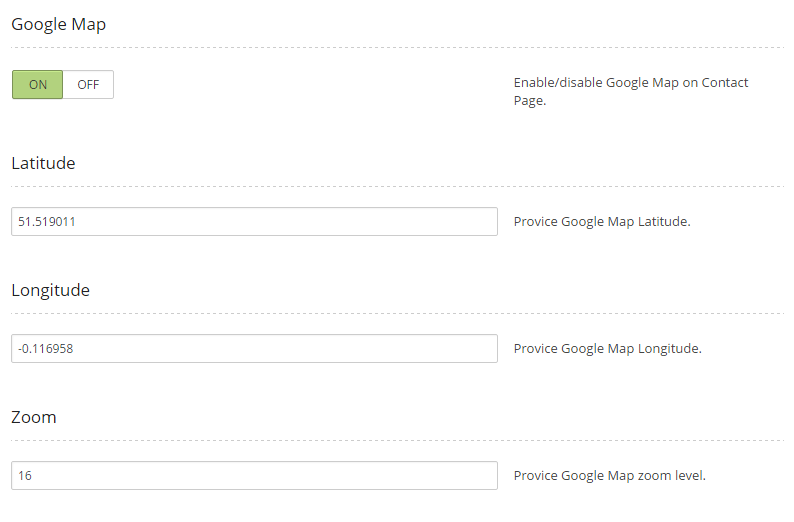
Choose if you want to show Google Map on Contact Page - click ON or OFF.
You can enter Latitiude and Longtitude of place.
You can also enter default map zoom.
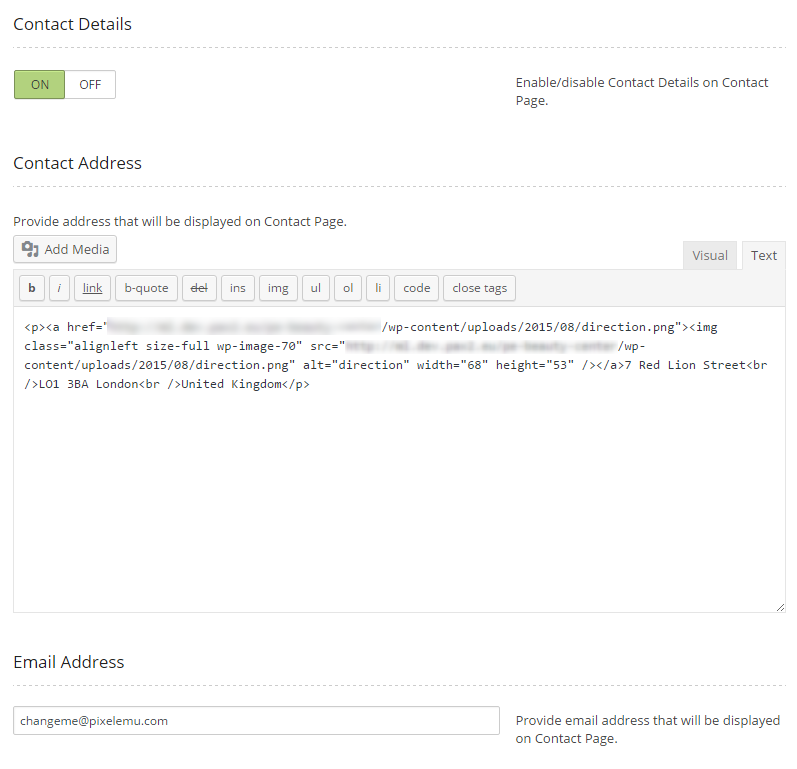
Choose if you want to show Contact Details on Contact Page - click ON or OFF.
You can enter address text and email address that will be displayed on Contact Page.
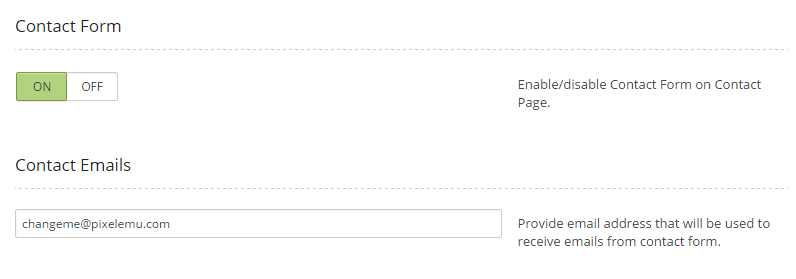
Choose if you want to show Contact Form on Contact Page - click ON or OFF.
You can enter email address that will be used to receive emails from contact form.
10. Dynamic CSS
FOR DEVELOPERS
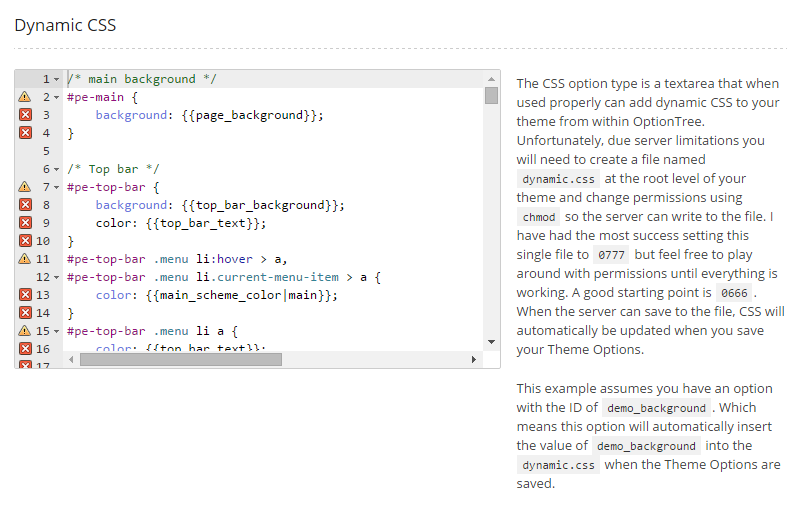
To setup Dynamic CSS options, navigate to Theme Options and click on Dynamic CSS tab.
You can modify default Dynamic CSS.
C. PAGES
1. Configure Contact Page
2. Configure FAQ page
3. Configure Services
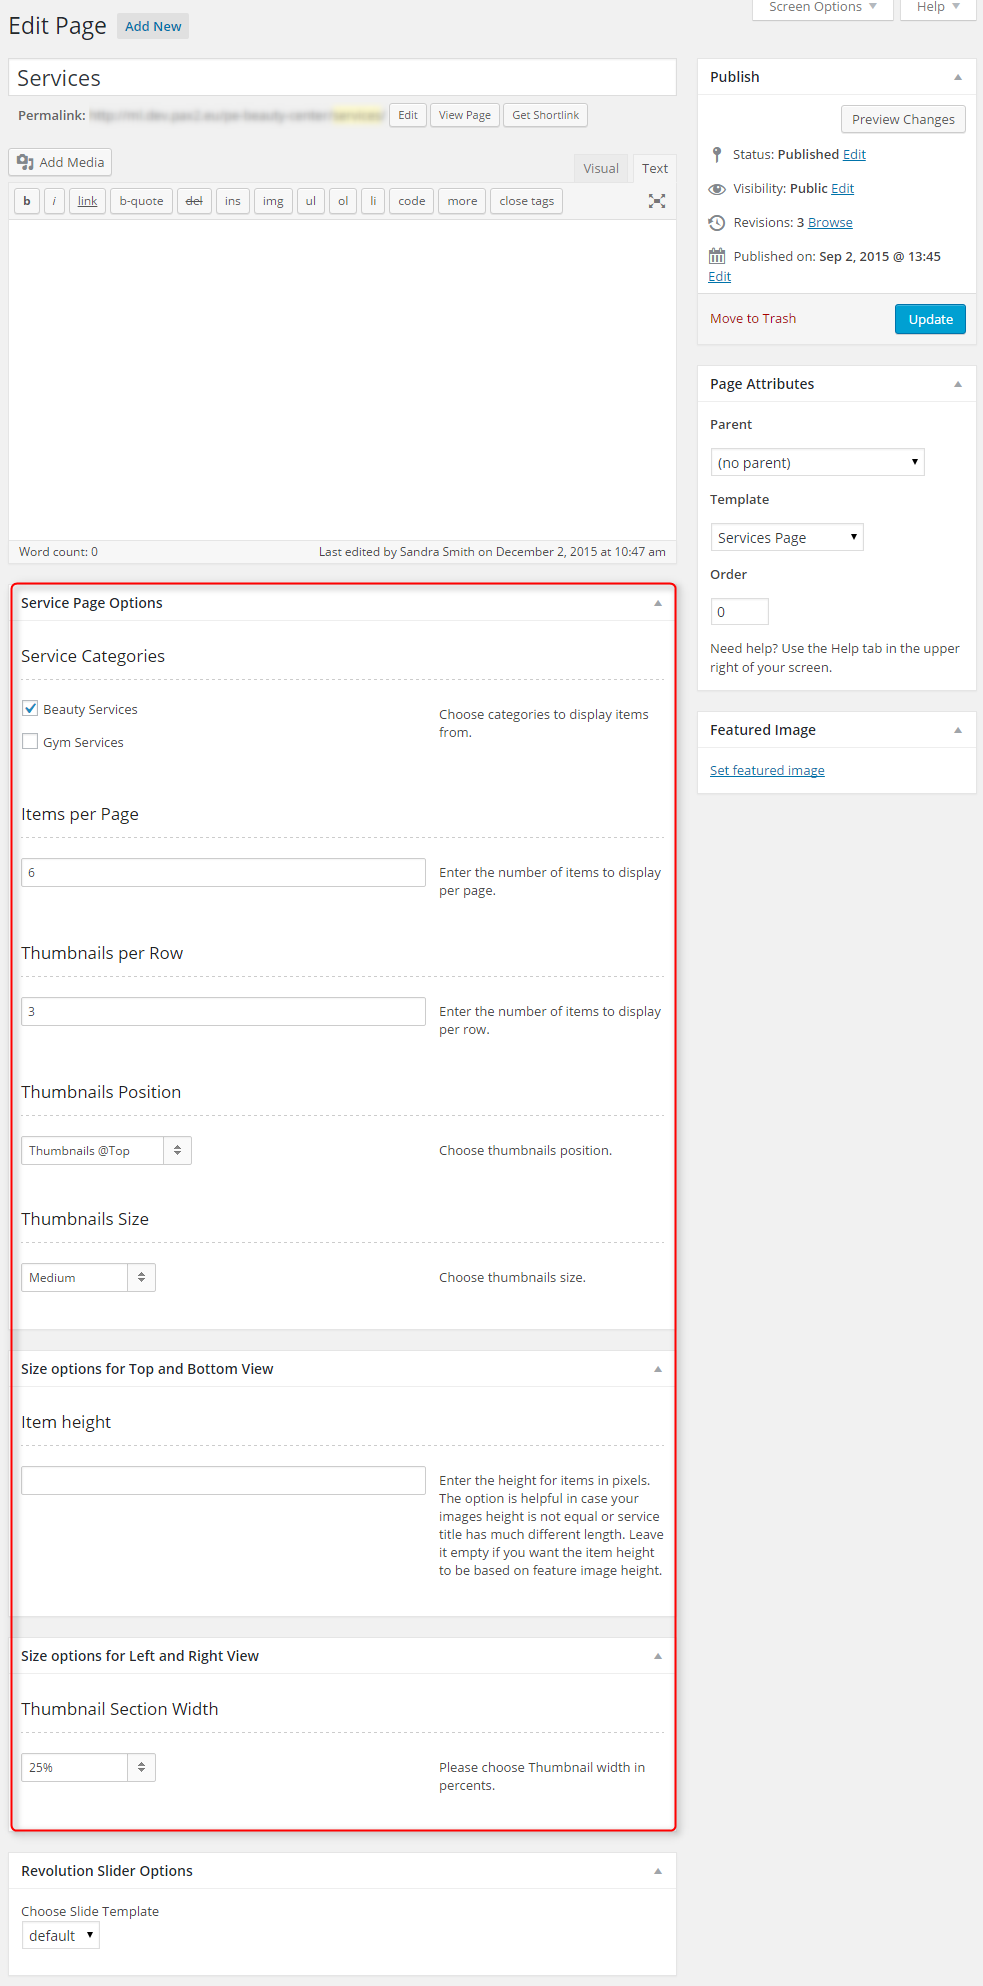
This page displays posts with post type Services Category and Services. To create that page go to Pages > Add New. Now select template Services Page and click Update/Publish

When you save or publish page additional options will be available.
You can set:
- Service Categories
- Items per Page
- Thumbnails per Row
- Thumbnails Position
- Thumbnails Size
- Item height
- Thumbnail Section Width

4. Configure Left-Content-Right page
5. Configure Left-Right-Content page
6. Configure Left-Content page
7. Configure Content-Left-Right page
8. Configure Content-Right page
9. Configure Full Width Content page
D. PLUGINS & WIDGETS
1. Display Widgets
3. PE Easy Slider
4. PE Recent Posts
5. Revolution Slider
6. WP User Avatar
7. Configure PE Contact Widget
Add PE Contact widget to sidebar Primary Widget Area.
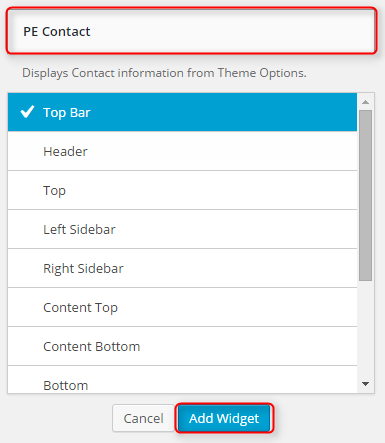
You can choose here:
- Title: title of widget
- Show or hide email address
- Show or hide Visit us link
- Visit Us Text
- Visit Us Link
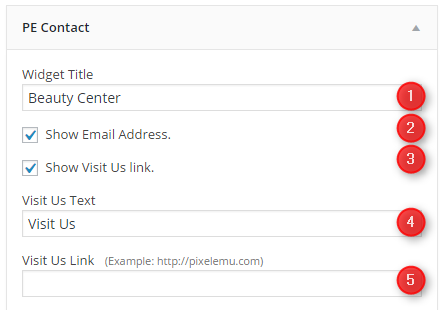
Click Save when you are done.
8. PE Social Icons Widget
Built-in widget which allows you to display social icons.
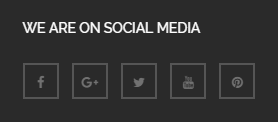

On demo page, widget is visible in the 'footer' sidebar.
We have also a video tutorial on how to configure the PE Social widget:
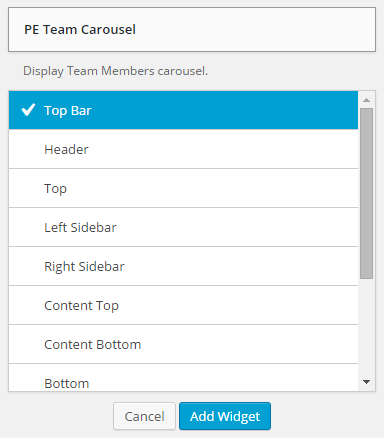
9. PE Team Carousel Widget
Add PE Team Carousel widget to sidebar Primary Widget Area.
You can choose here:
- Title: title of widget
- Type of view: Carousel View or Grid View
- Image size: Small image or Large image
Images are automatically cropped to dimentions:
270 x 30px - large image
90 x 90px - small image - Number of Members
- Number of Members in one row
- Member description limit
- Show or hide Social icons
- Show or hide Member name
- Show or hide Member profession
- Show or hide Member avatar
- Show or hide Member description
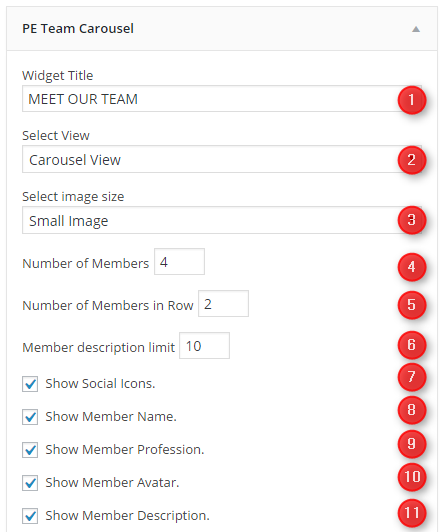
Click Save when you are done.
10. PE Testimonial Carousel Widget
Add PE Testimonials Carousel widget to sidebar Primary Widget Area.

You can choose here:
- Title: title of widget
- Number of testimonials to show
- Testimonial opinion limit
- Show or hide testimonial author occupation

Click Save when you are done.
E. ADDING CONTENT
1. Add Post
2. Add Page
3. Add Member
Navigate to Members > Add New. Enter title (member name), description and click Publish. Optionally you can choose featured image (member avatar).
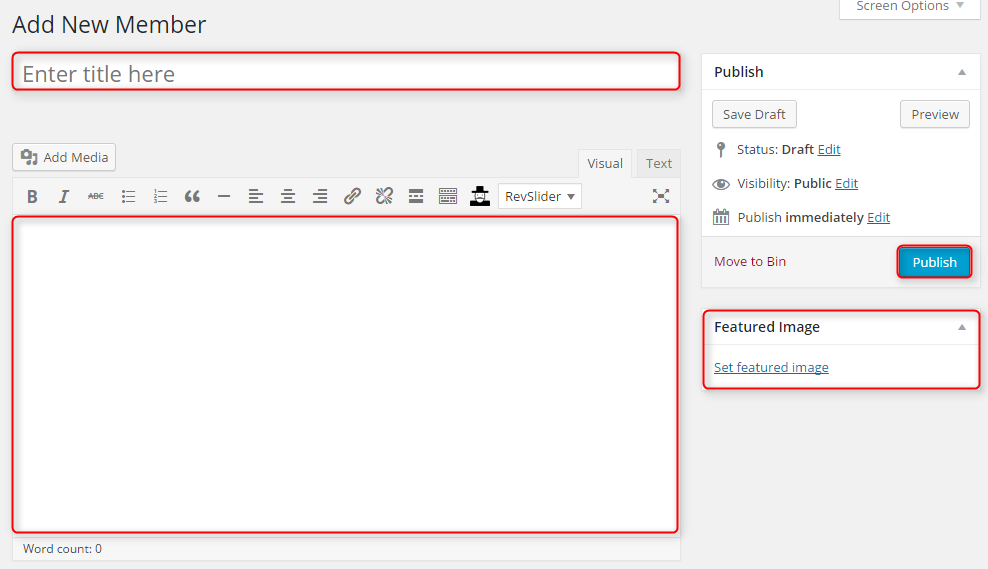
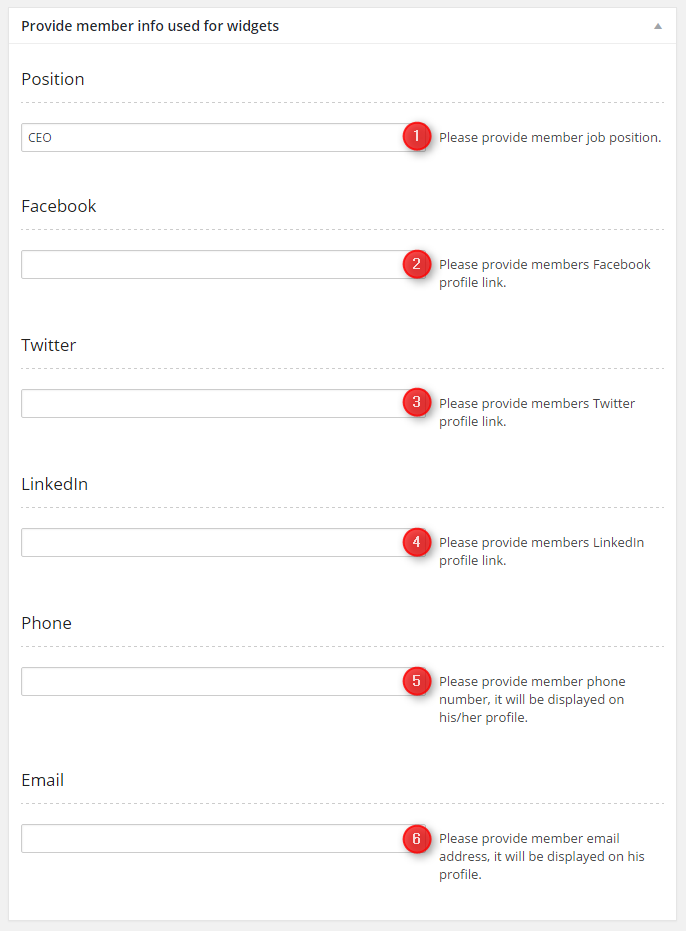
You can also provide:
- Member job position
- Nember Facebook profile
- Member Twitter profile
- Member Linkedin profile
- Member Phone number
- Member Email address
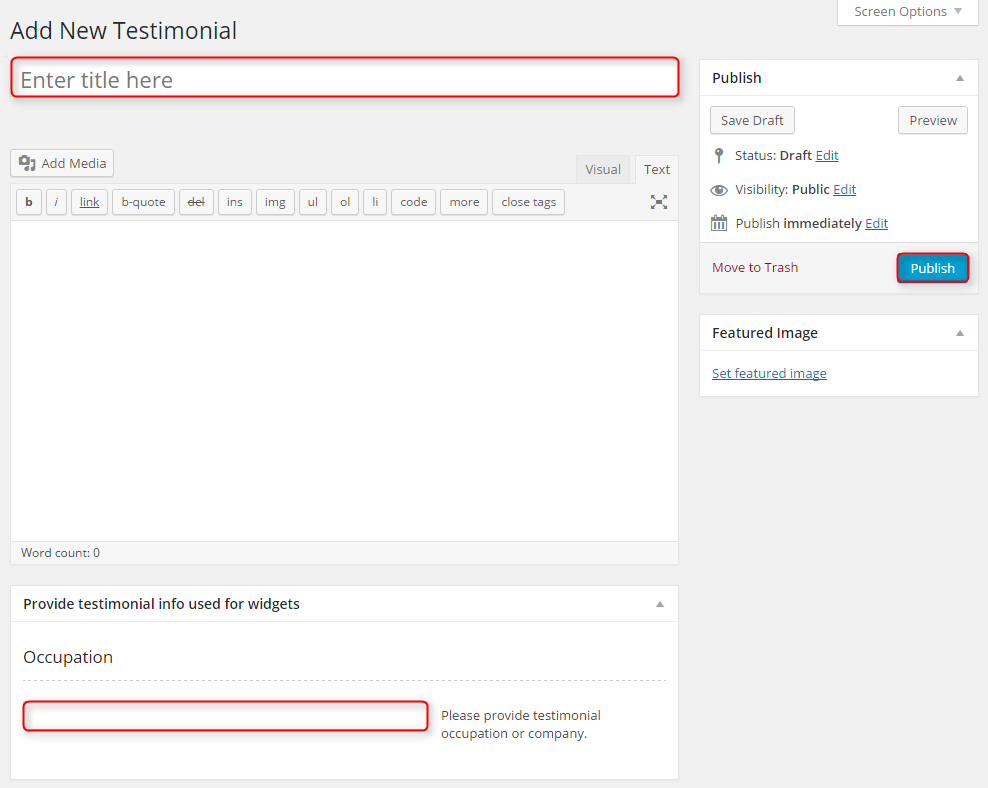
4. Add Testimonial
Navigate to Testimonials > Add New. Enter title (author name), description and click Publish. Optionally you can choose testimonial author occupation.
5. Add Service
First you should add Service Categories.
Navigate to Services > Service Categories.
Enter:
- Category name
- Category slug
- Choose Category parent
- Category description
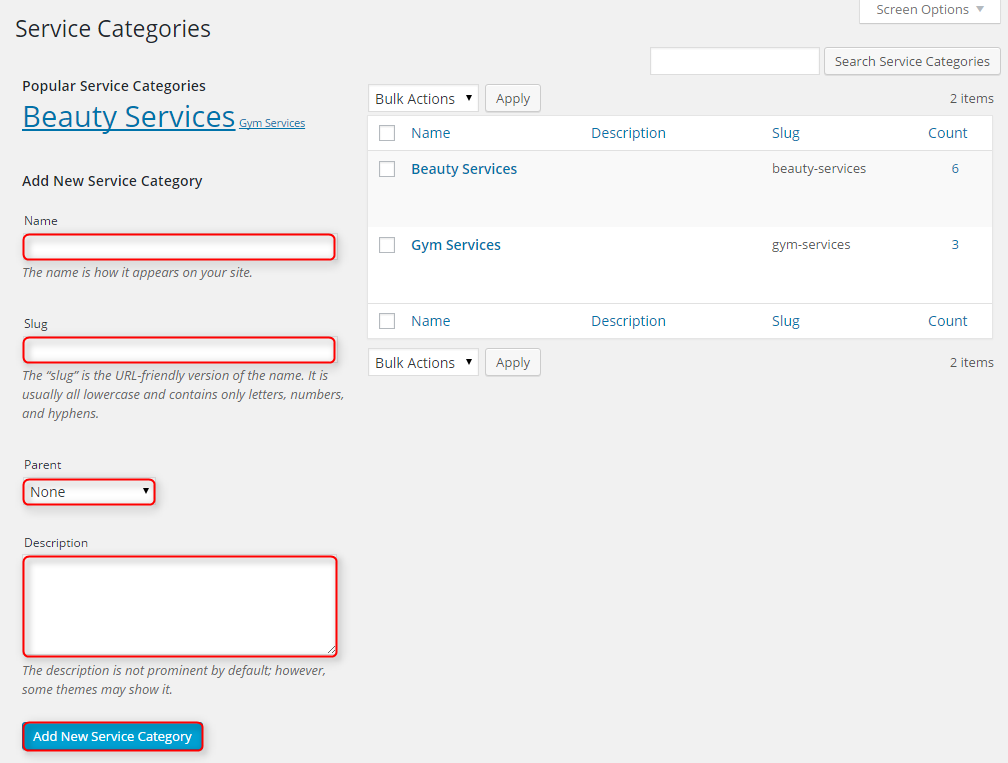
Click Add New Service Category when you are done.
Once you have category, you can add post.
Navigate to Services > Service Categories.
Enter title (service name), description, choose Service Categories, Featured Image and Service Subtitle.

6. Add FAQ
F. WPML
1. Purchase WPML
2. Initial Setup
3. Translating Pages, Posts and other post types
4. Translating custom post types
5. Translating theme texts and other strings
G. OTHER
1. Classes for widgets
2. Available classes
pe-margin - remove all margins for widgets.
small-title - add smaller font size to widget title.
pe-light - add background and color for widget - the same as PE-Light Background and PE-Light Text in Theme Options -> Background Colors.
pe-dark - add background and color for widget - the same as PE-Dark Background and PE-Dark Text in Theme Options -> Background Colors.
pe-popular - additional class for PE Recent Posts widget, add smaller font for article title.
_heightXXX - eg. _height375, set the widget height, the number means the height in pixels, useful if you need to make widget containers height equal
3. Bootstrap classes to specify each widget width
4. Responsive Utilities
5. Available shortcodes
Shortcodes article you will find here here.
In this article you will find some examples of shortcodes which you can use in articles.
Shortcode Generator
6. Typography
Typography article you will find here here.
In this article you will find some examples of custom classes which you can use in articles.
H. OPTIMIZE YOUR SITE
I. SOURCES AND CREDITS
Plugins:
- Duplicator (Create a backup of your WordPress files and database. Duplicate and move an entire site from one location to another in a few steps. Create a full snapshot of your site at any point in time.) http://lifeinthegrid.com/
- Display Widgets (Adds checkboxes to each widget to show or hide on site pages.) http://strategy11.com/
- W3 Total Cache http://www.linkedin.com/in/w3edge
- Revolution Slider (Revolution Slider - Premium responsive slider) http://themepunch.com/
- WP User Avatar (Use any image from your WordPress Media Library as a custom user avatar. Add your own Default Avatar.) http://www.flippercode.com/
- WordPress Importer https://profiles.wordpress.org/wordpressdotorg/
- OptionTree https://github.com/valendesigns/option-tree-theme
- Max Mega Menu (Mega Menu for WordPress.) http://www.maxmegamenu.com/
- Multiple Post Thumbnails (Adds the ability to add multiple post thumbnails to a post type.) http://voceplatforms.com/
- PE Easy Slider (Simple Horizontal Slider for Posts) http://www.pixelemu.com/
- PE Recent Posts (Simple Slider for Posts) http://www.pixelemu.com/
Images:
- http://www.dreamstime.com/royalty-free-stock-image-eautiful-brunette-young-sexy-woman-bob-haircut-red-lips-portrait-image37555296
- http://www.dreamstime.com/royalty-free-stock-photo-pretty-womans-shop-image21873445
- http://www.dreamstime.com/royalty-free-stock-photos-collage-different-business-images-image14167968
- http://demo.pixelemu.com/pe-beauty-center/credits/