How to create a child theme?
In this article you will find out about WordPress theme customization basics using WordPress child themes.
WordPress child theme
In short, WordPress child theme is a separate theme which inherits all functionality and design from parent theme. Basically, WordPress child themes allows you to modify functions, html or styles in theme without any changes in original files.
Why should I use child themes?
Because it simply pays off. Even the best theme in the World, always there are many little things which we want to change. Almost all customers more or less customize themes. But there is always one, huge problem - how to update WordPress theme when new version is available? This is the moment when child themes are very helpful. Because you may modify (almost) all you want in child theme instead overwriting original, parent WordPress theme code. In this way you avoid problems and update theme with ease.
How child theme works?
Once the child theme is activated, WordPress searches for files in the child theme first during the process of loading a theme. If the file doesn't exist then the system will load the right file from parent theme.
How to create child theme?
To start working with child theme you need to create theme directory first. In this example I will use PE School theme.
1. Create new folder in 'wp-content/themes/' directory. Using name in a format 'themename-child' is a good practice.
2. Create file 'style.css' in child theme with content:
/*
Theme Name: PE School Child
Description: Child theme for PE School theme
Author: PixelEmu
Template: pe-school
*/
'Theme name' and 'Template' parameters are required.
3. Activate child theme in Appearance > Themes.

Basically that's all, now you can adjust things in fast and easy way!
How to edit child theme?
a) Custom styling
If you want add additional CSS styles in your theme, you should create 'functions.php' file in child theme and add new function:
function peEnqueueStyles() {
    wp_enqueue_style( 'parent-style', get_template_directory_uri().'/style.css' );
}
add_action( 'wp_enqueue_scripts', 'peEnqueueStyles' );
In this way WordPress will load 'style.css' file from parent theme. If you want load file from child theme use 'get_stylesheet_directory_uri()' instead 'get_template_directory_uri()'.
As an example I will show how to add css for icon for WordPress sticky post.
WordPress blog view:

'functions.php' file in child theme:
// additional stylesheets
 if( !function_exists('load_child_theme_styles') ) {
 function load_child_theme_styles() {
 if ( !is_admin() ){
 wp_enqueue_style( 'child-style', get_stylesheet_directory_uri().'/custom-style.css' );
 }
 }
 }
 add_action( 'wp_enqueue_scripts', 'load_child_theme_styles', 20 );
'style.css' file in child theme:
.sticky .page-header h2 a:before {
 color: red;
}
Result:

Easy? Yes and what most important, no need to modify original WordPress theme files!
b) Modify WordPress template files
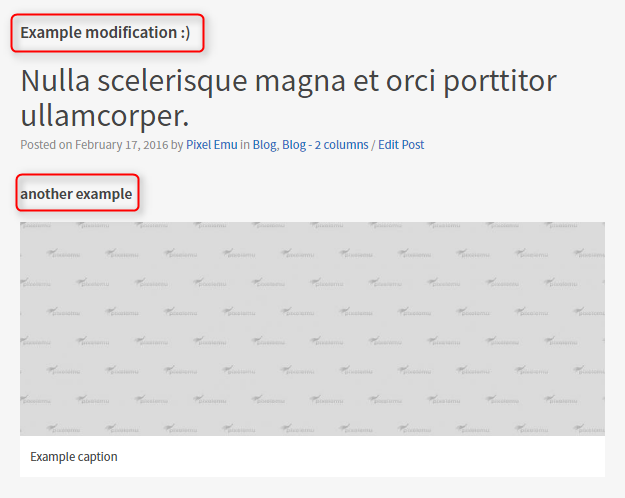
If you want modify some template parts, just create new php file in child theme directory. In example I will change single post view (single.php).
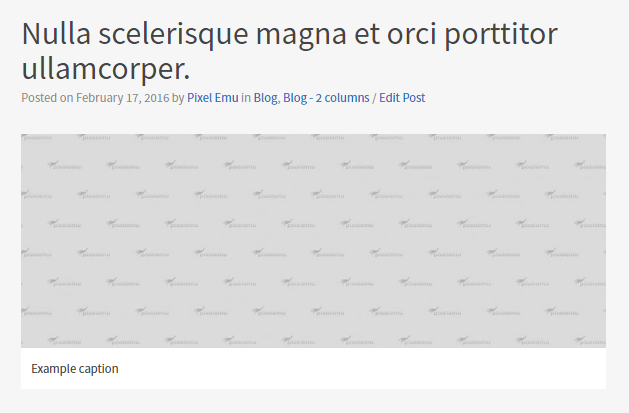
Single post view:

'single.php' file in child theme:
<?php if ( have_posts() ) : while ( have_posts() ) : the_post(); ?>

<h2>Example modification :)</h2>

<?php get_template_part( 'tpl/content', 'single' ); ?>

<?php
endwhile;
endif;
?>
Of course we can also create overrdie for 'tpl/content-single.php' used in 'get_template_part()' function.
<header class="page-header">

 <h1><?php the_title(); ?></h1>

</header>

 <h3>another example</h3>

 <?php if ( has_post_thumbnail() ) {

 pe_show_thumbnail();

 } ?>
 <div class="pe-article-content">

 <?php the_content(); ?>

 </div>
Result:

Here are some of WordPress template files which you can override:
- header.php
- footer.php
- index.php
- single.php
- page.php
- and much more
c) Modify WordPress functions
If you want you can even modify WordPress theme functions. Just add function in 'functions.php' file.
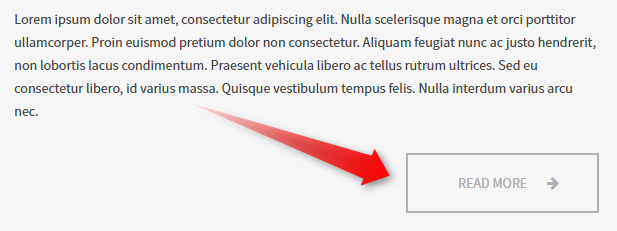
For example, let's modify original readme button in parent theme:

Modification in child theme:
// readmore modification
 function pe_read_more_link() {
 return '<p class="pe-article-read-more">
 <a class="custom" href="' . get_permalink() . '">' . __('My custom read more', 'pe-school') . '</a>
 </p>';
 }
 add_filter( 'the_content_more_link', 'pe_read_more_link' );
Result:

Like the tutorial? Please share and rate. Thanks :)