PE Portfolio WordPress theme manual
A. GENERAL
1. Introduction
This documentation is last updated on 23th June 2017.
Thank you for purchasing PE Portfolio Theme . If you have any question that is beyond the scope of this documentation, Please feel free to create a support ticket using Our Support Site.
If you like this theme, Please support us by rating this theme with 5 stars.
Before you start please choose if you want :
- import demo content with plugin
- manual import demo content
- use Quickstart package
If you choose Quickstart option please skip points A2 and A3.
2. Installing the Theme
3. Install Plugins
4. Demo Content Import (option 1)
Follow installation steps listed here
After PE Portfolio Demo Content Importer has finished his job please check:
If you have earlier Slider Revolution plugin installed and some sliders here please go to Appearance -> Widgets. In sidebar Header Background open widget Revolution Slider, choose Header Home and click Save.
5. Demo Copy installation (option 2)
6. Manual Demo Content Import (option 3)
Demo Site Configuration
Import of the Revolution Slider data
Import Widgets
Configure Reading Settings
7. How to Update Theme
B. THEME OPTIONS
1. Basic Settings
To setup Basic Settings, navigate to Appearance > Theme Options and click on Basic Settings tab.

2. Layout
To setup Layout, navigate to Appearance > Theme Options and click on Layout tab.

4. Blog
To setup Blog, navigate to Appearance > Theme Options and click on Blog tab.
General:

Archive:

Single Post:

5. Pages
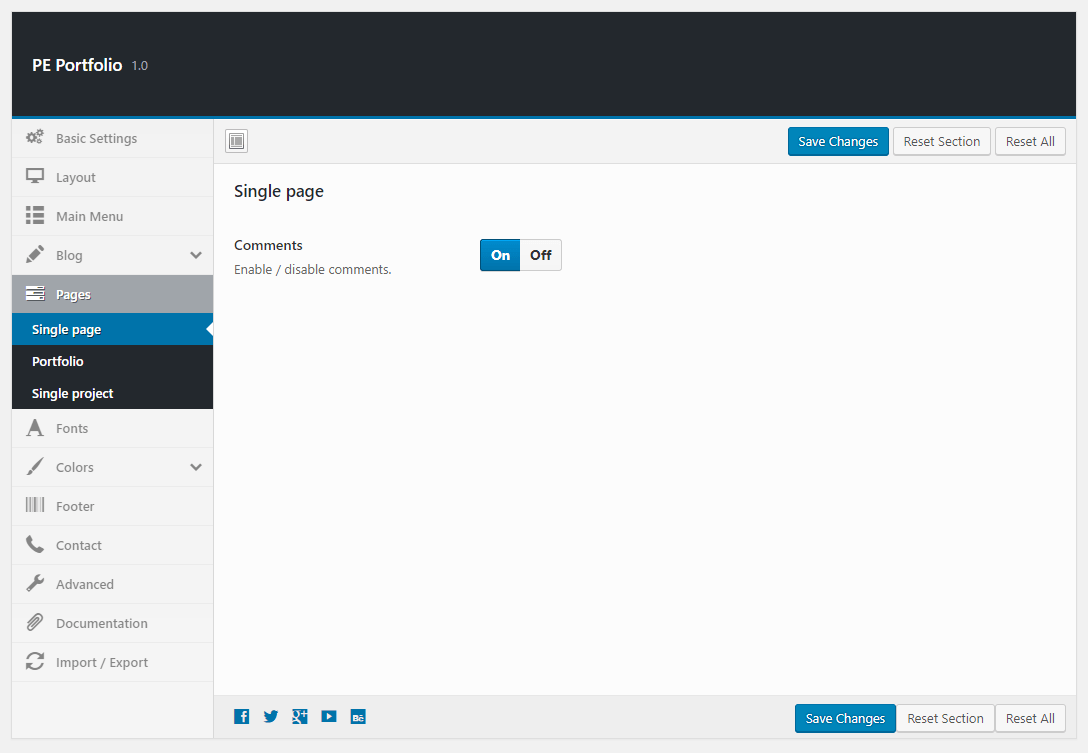
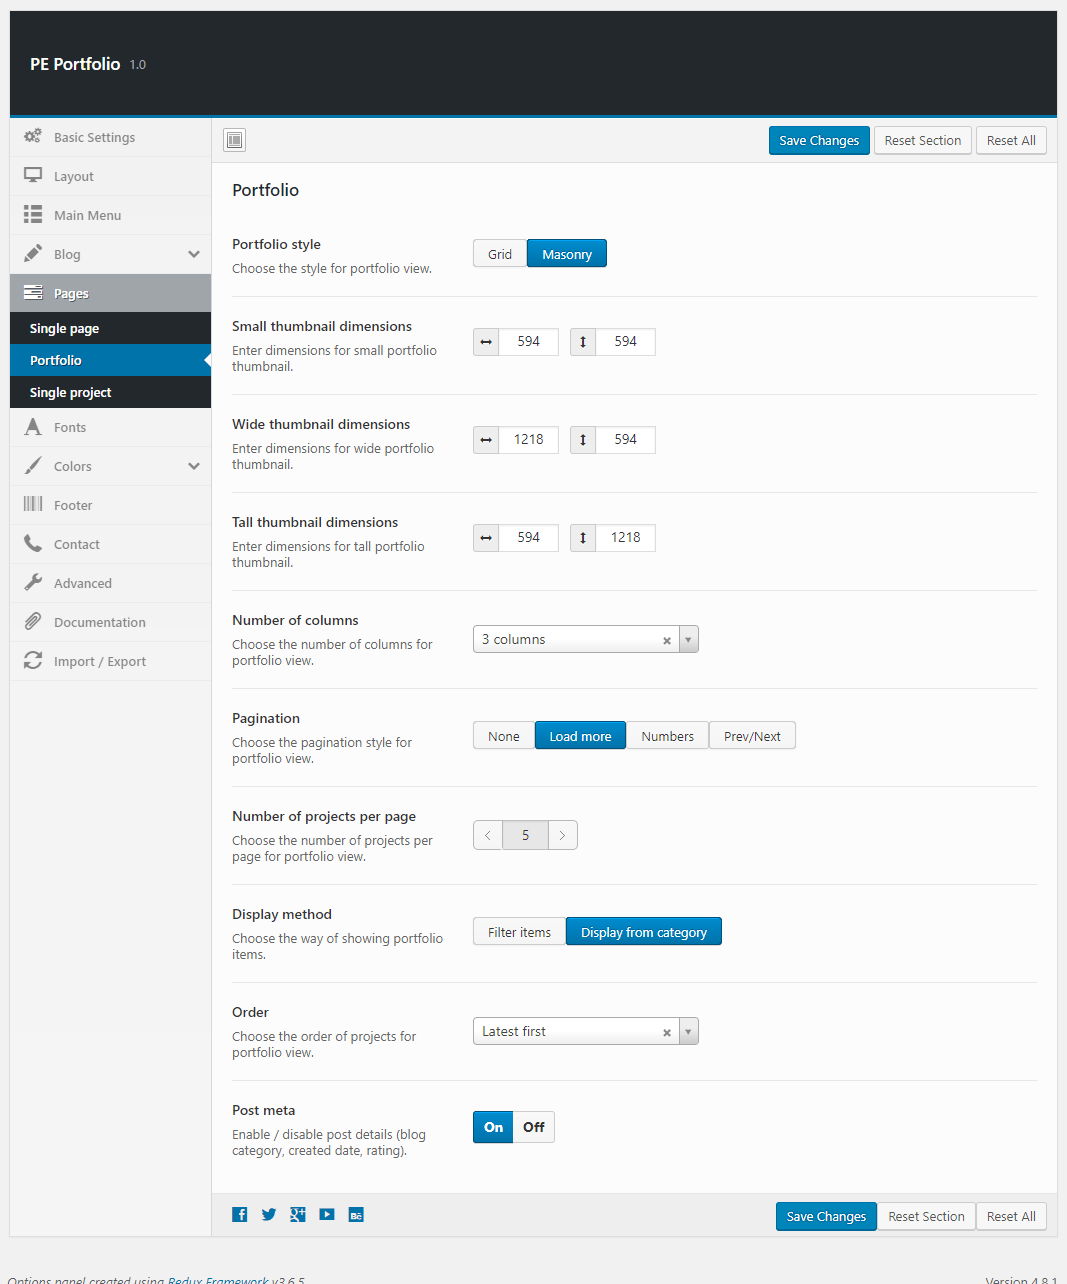
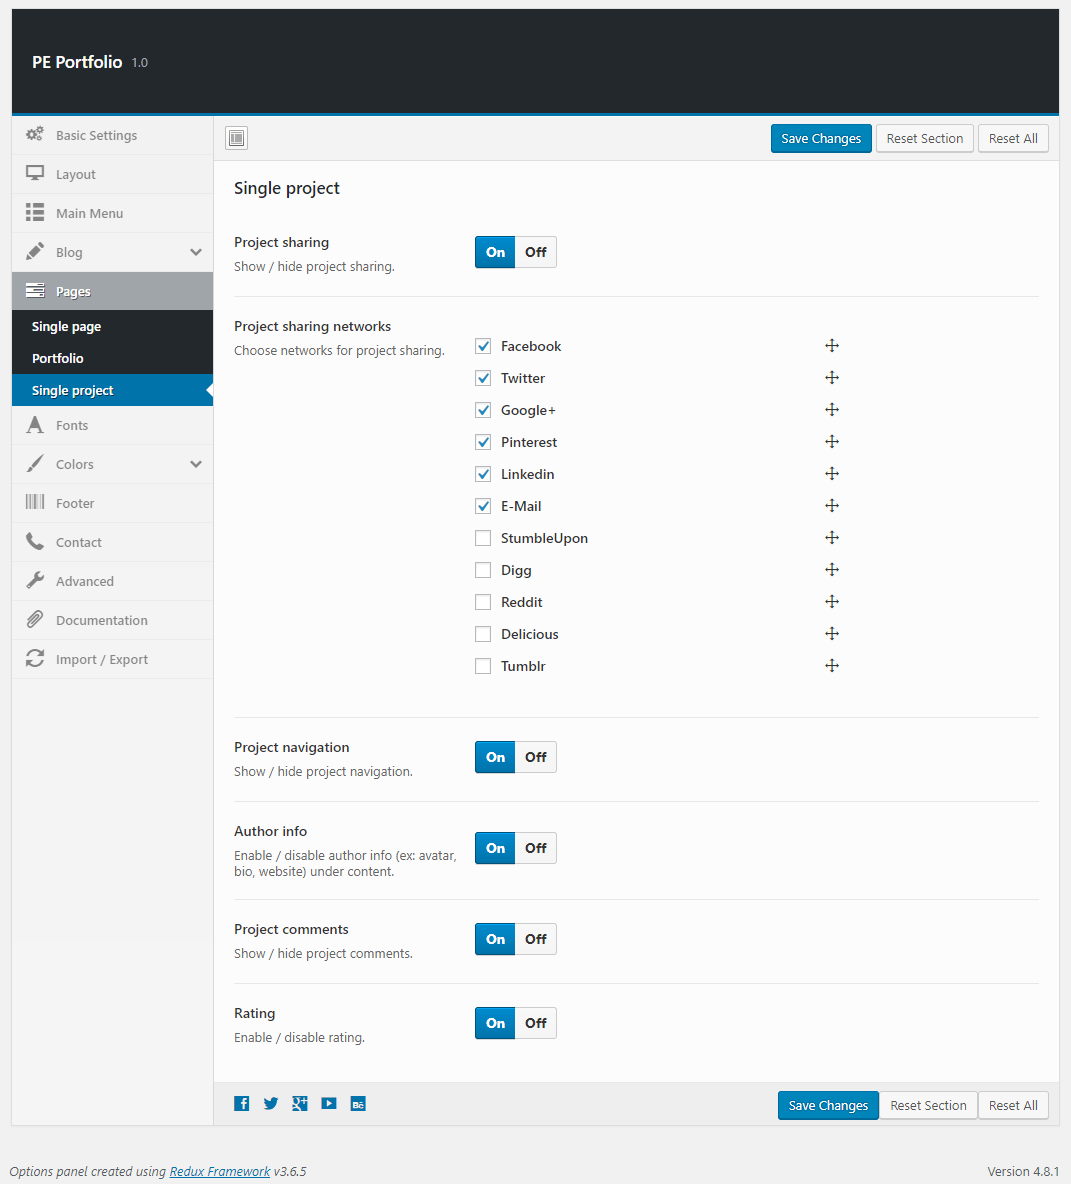
To setup Pages, navigate to Appearance > Theme Options and click on Pages tab.
Single Page:
Portfolio:
Single Project:
6. Fonts
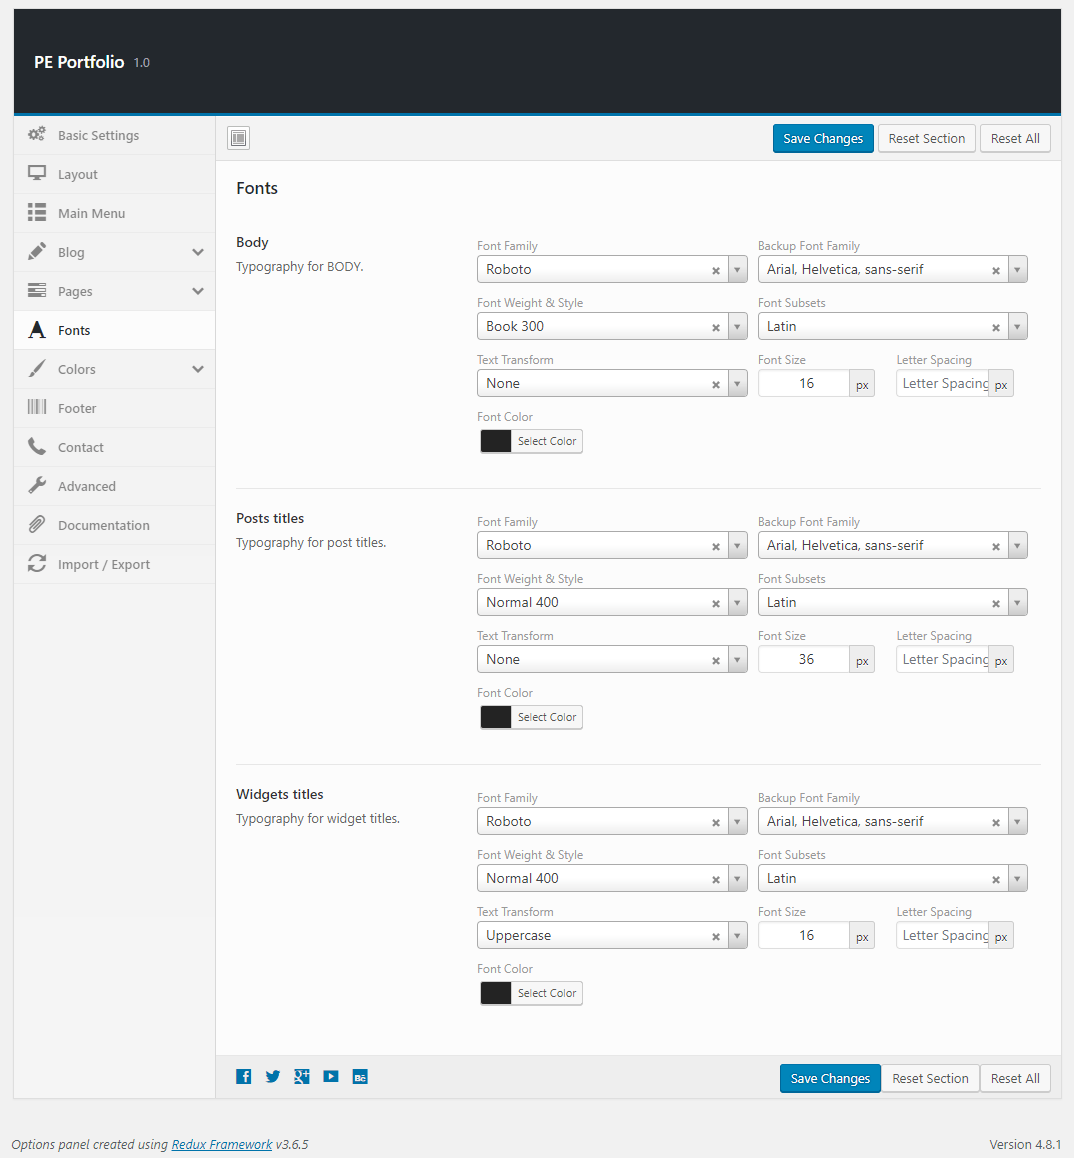
To setup Fonts, navigate to Appearance > Theme Options and click on Fonts tab.
7. Colors
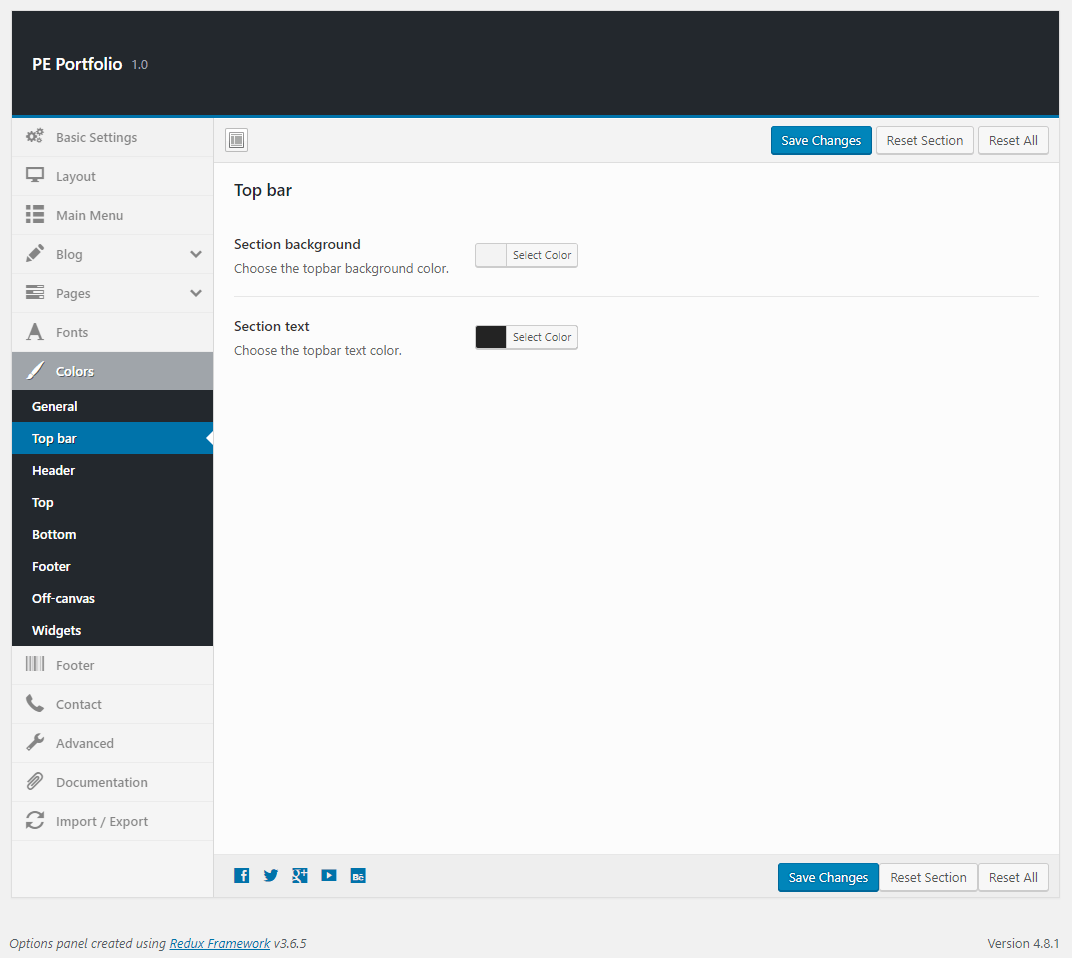
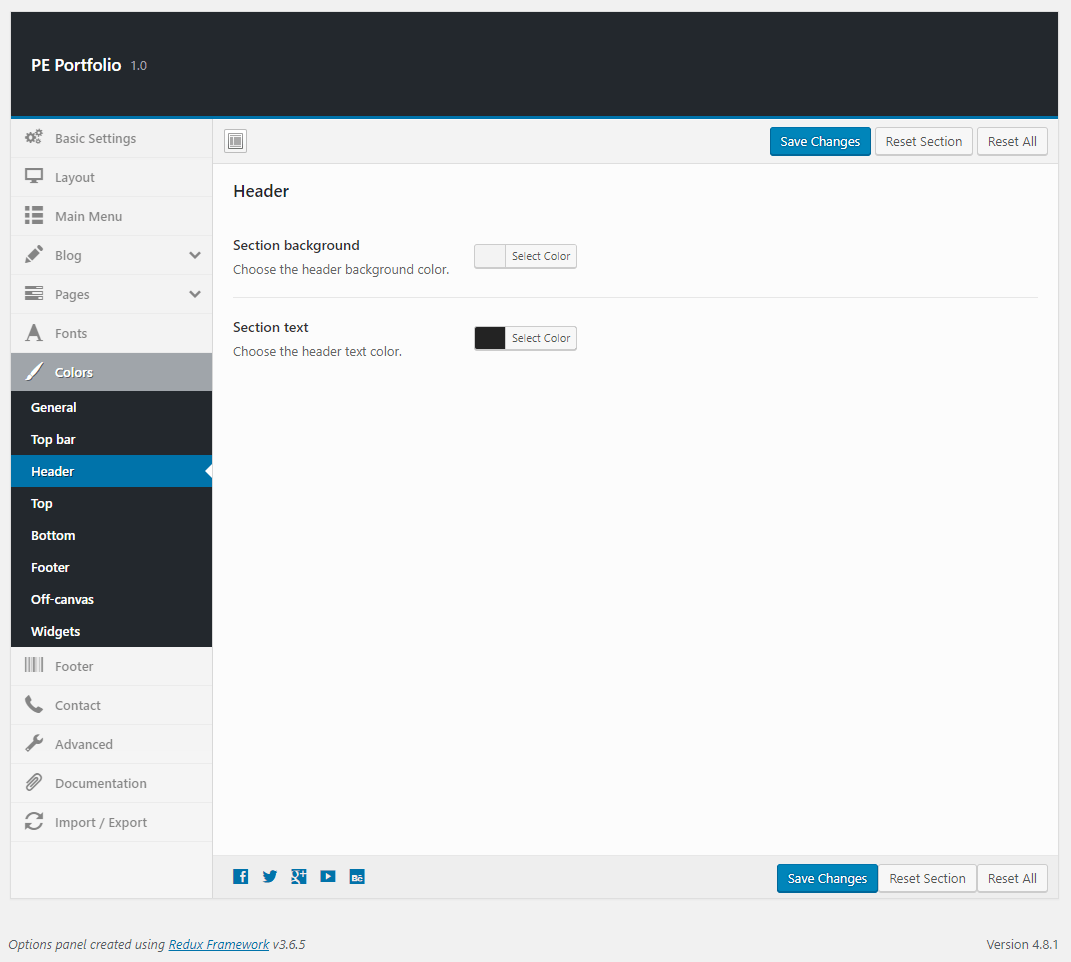
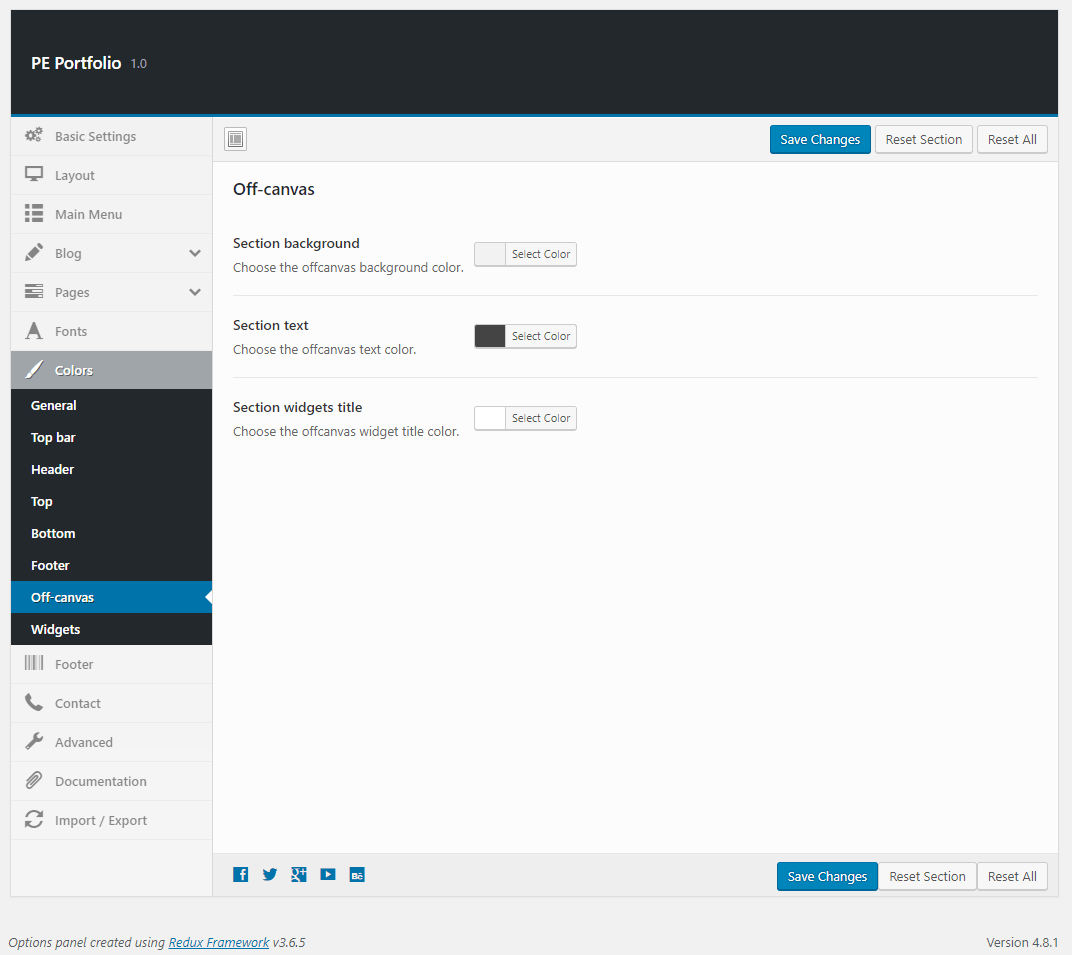
To setup Colors, navigate to Appearance > Theme Options and click on Colors tab.
General:

Top bar:
Header:
Top:

Bottom:

Footer:

Off-canvas:
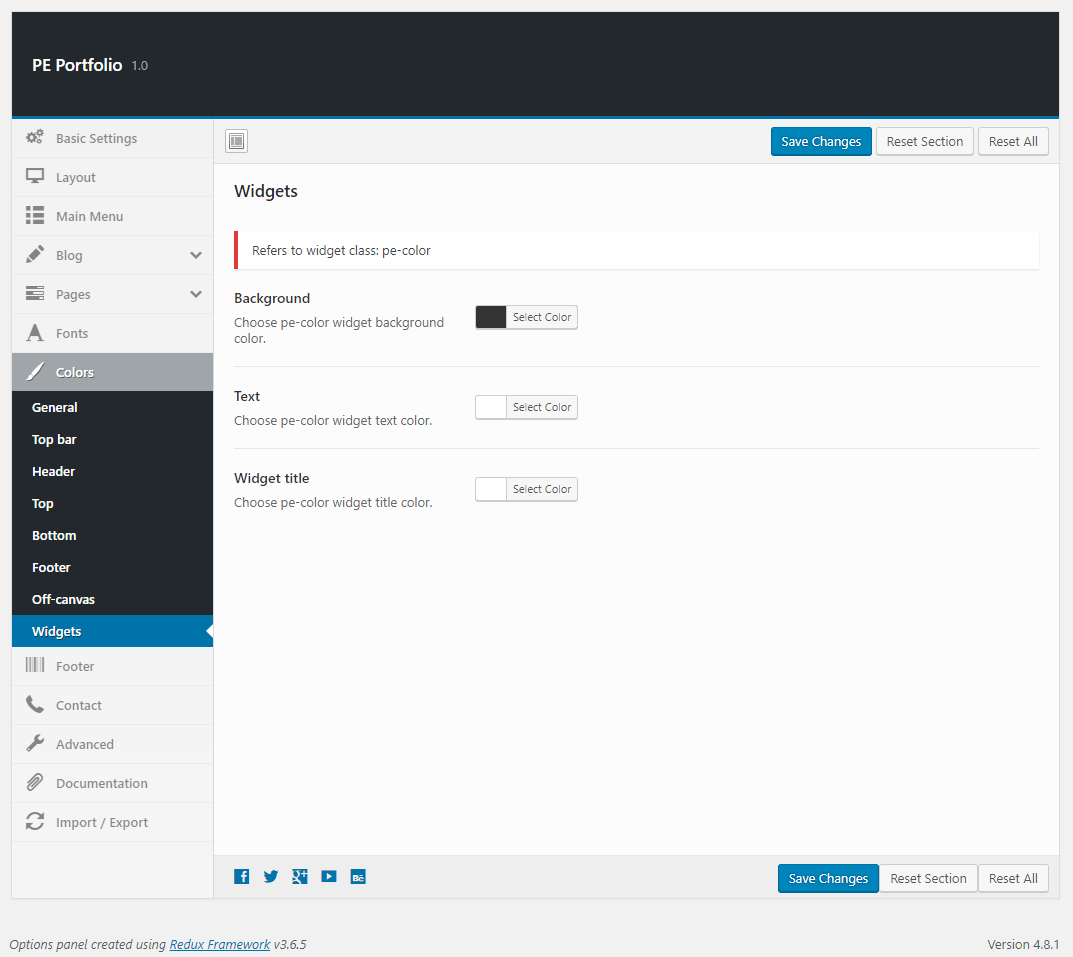
Widgets:
9. Contact
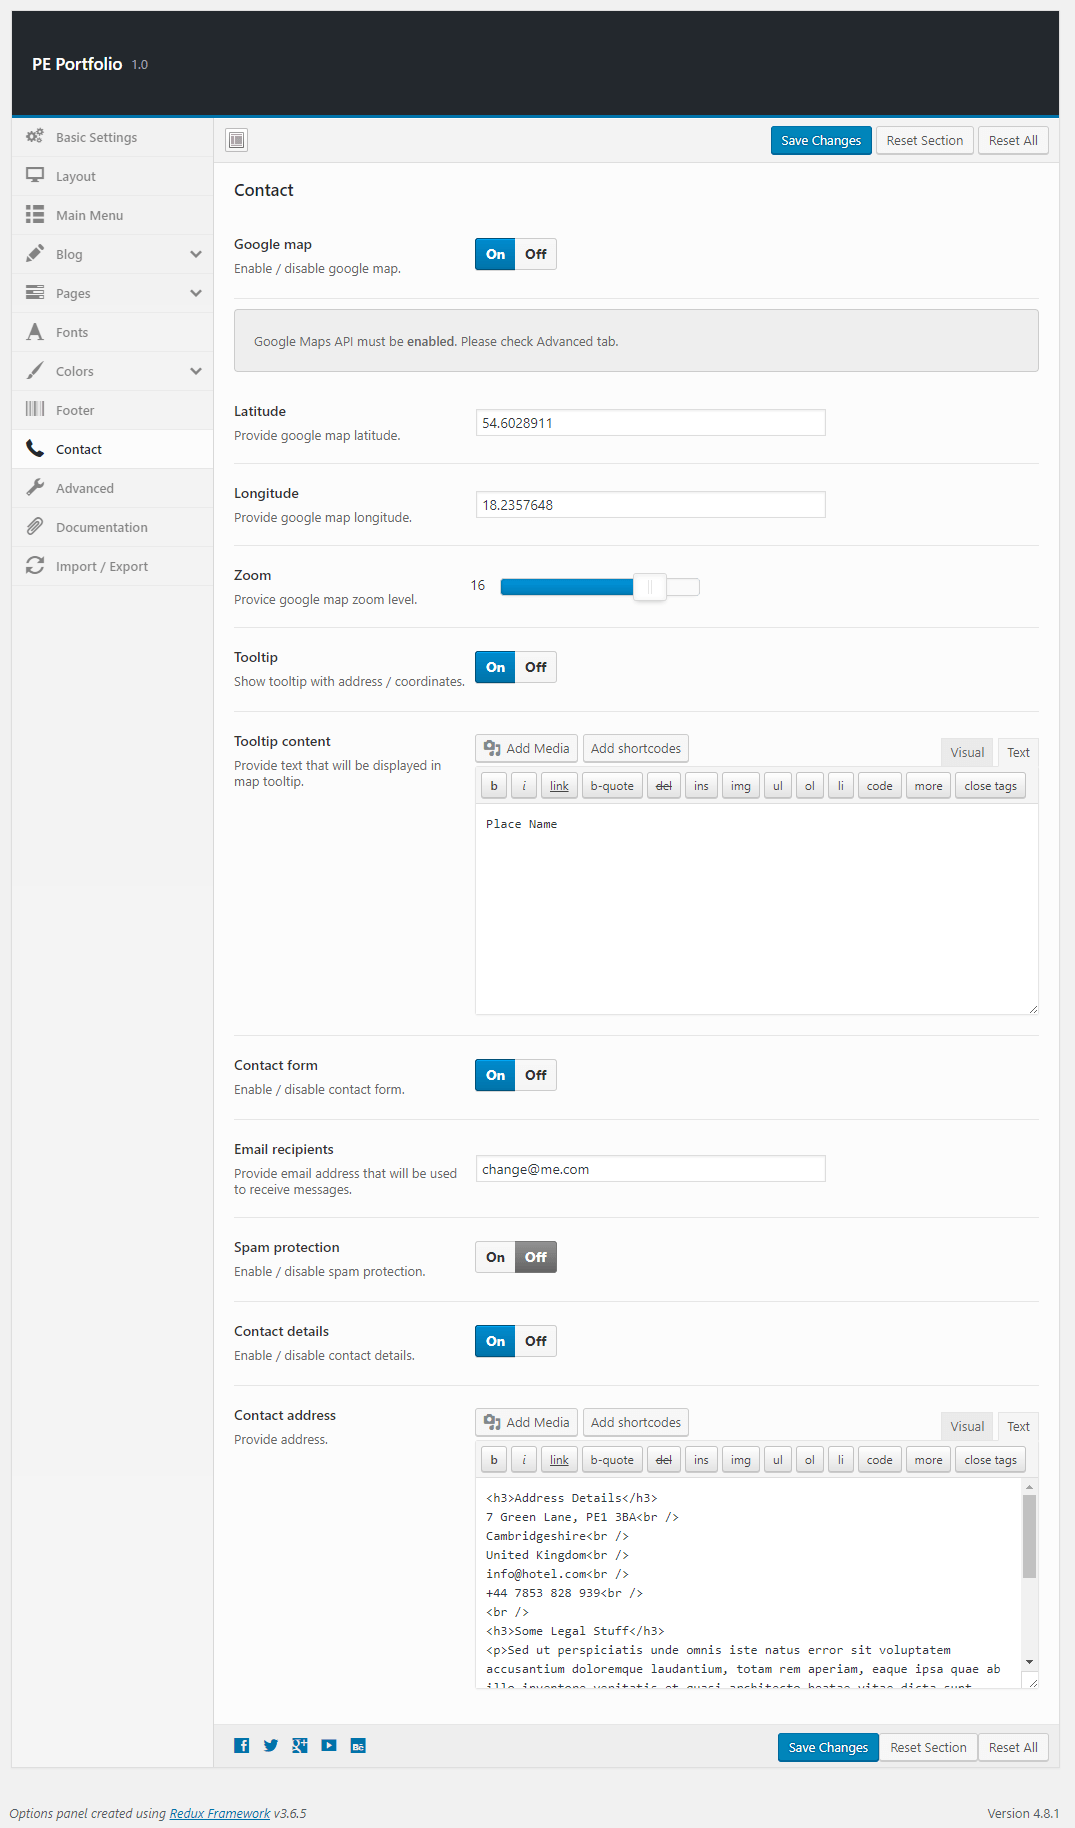
To setup Contact, navigate to Appearance > Theme Options and click on Contact tab.
10. Advanced
To setup Advanced, navigate to Appearance > Theme Options and click on Advanced tab.

11. Import / Export
To setup Import / Export, navigate to Appearance > Theme Options and click on Import / Export tab.

C. PAGES
1. Configure Left-Content-Right page
2. Configure Left-Right-Content page
3. Configure Left-Content page
4. Configure Content-Left-Right page
5. Configure Content-Right page
6. Configure Full Width Content page
7. Configure FAQ page
8. Configure Contact Page
9. Configure Login Page
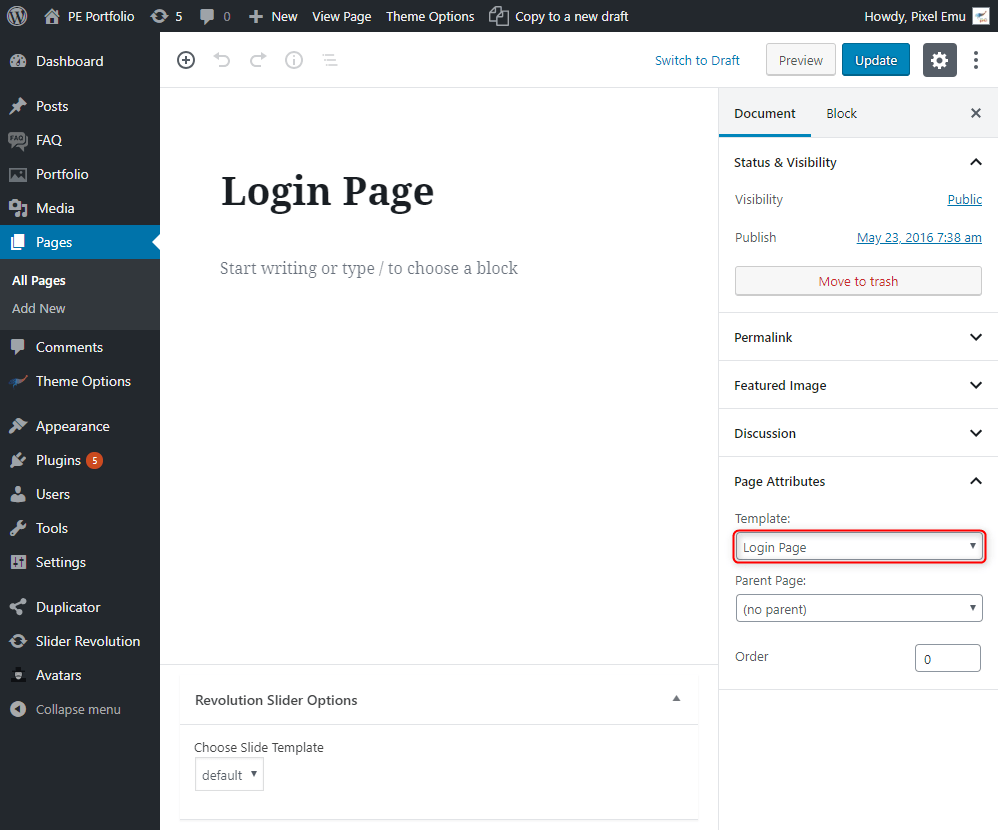
This page displays login page. To create that page go to Pages > Add New. Now select template Login Page and click Update/Publish.

10. Configure Registration Page
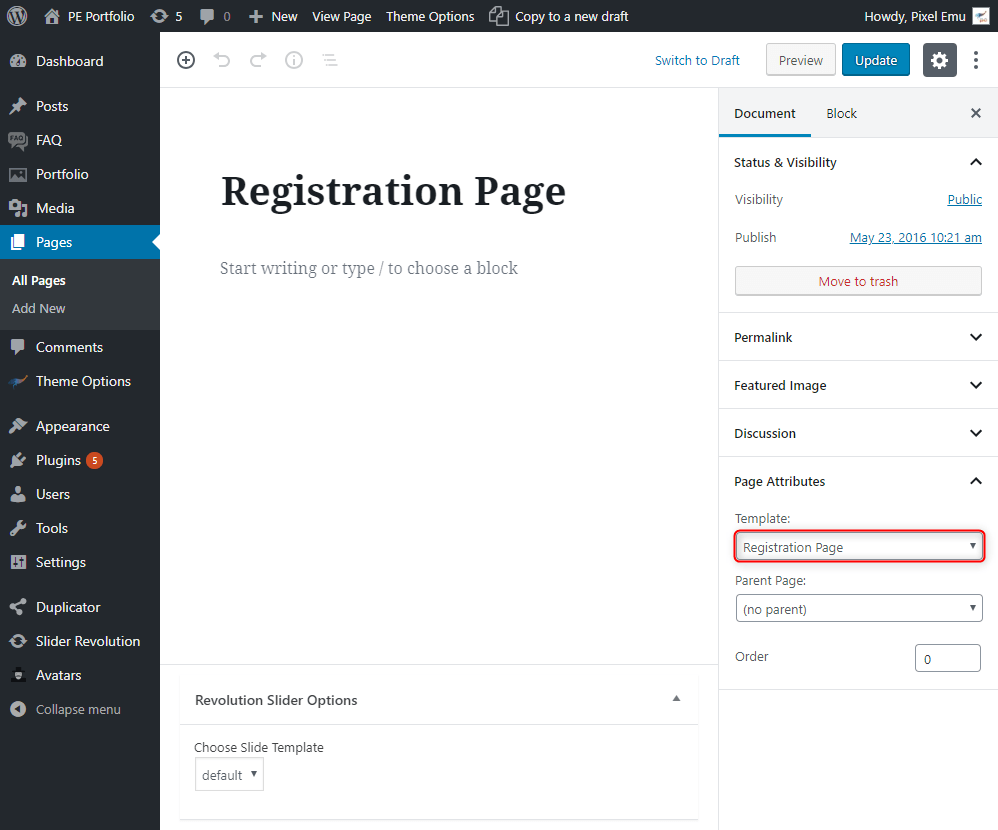
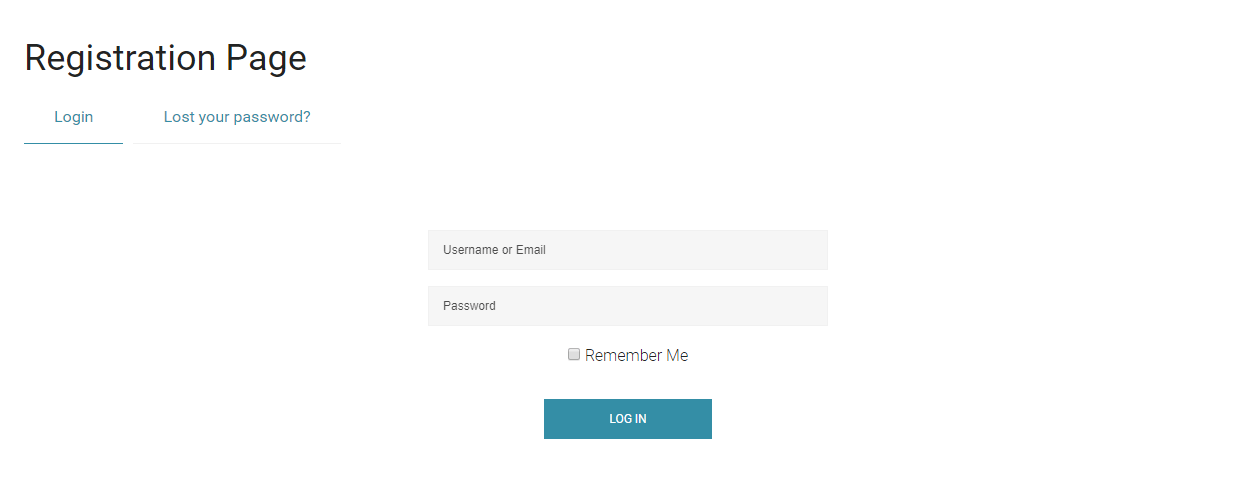
This page displays registration page. To create that page go to Pages > Add New. Now select template Registration Page and click Update/Publish.
D. PLUGINS & WIDGETS
1. Display Widgets SEO Plus
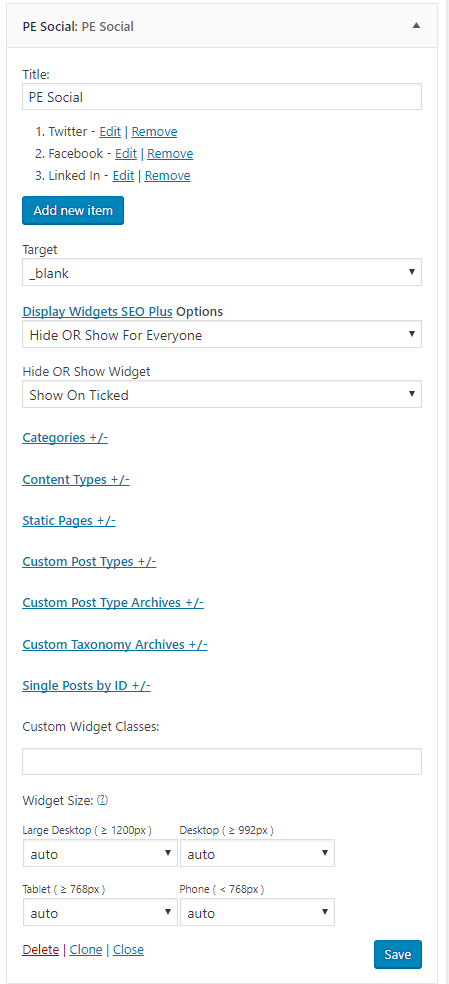
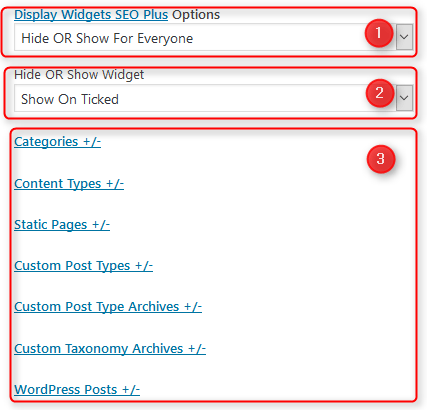
Very useful plugin that allow you to show/hide widgets on certain pages. These options are displayed on the bottom of all widgets.
You can choose:
- Display widget for everyone, only logged-in or only logged-out users.
- Show or hide widget on pages selected below.
- Pages to show/hide widget.
2. WP User Avatar
3. Revolution Slider
5. PE Contact
Built-in widget which allows you to display contact form and Google Map.
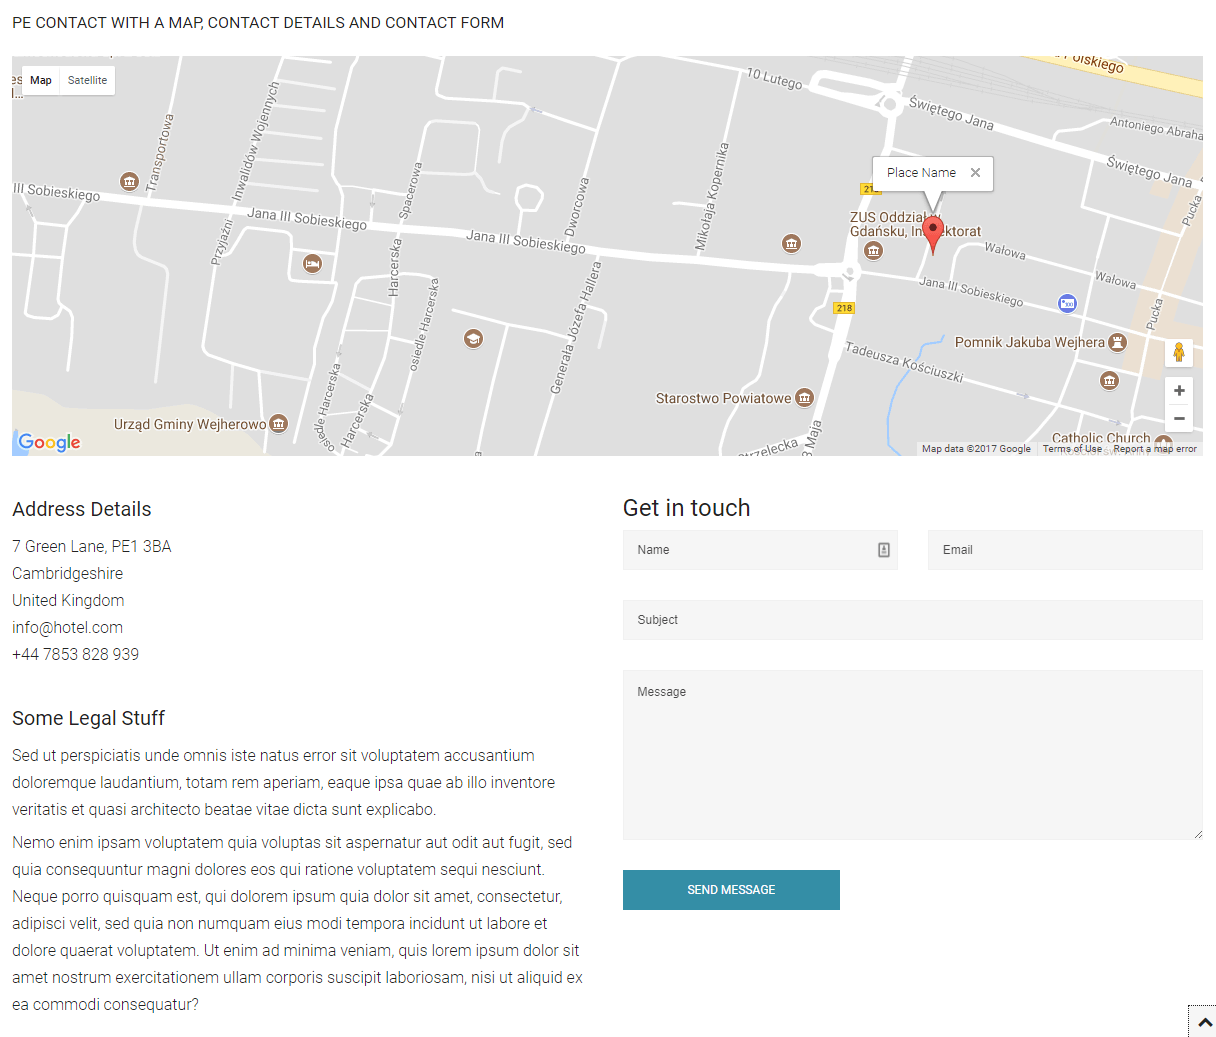
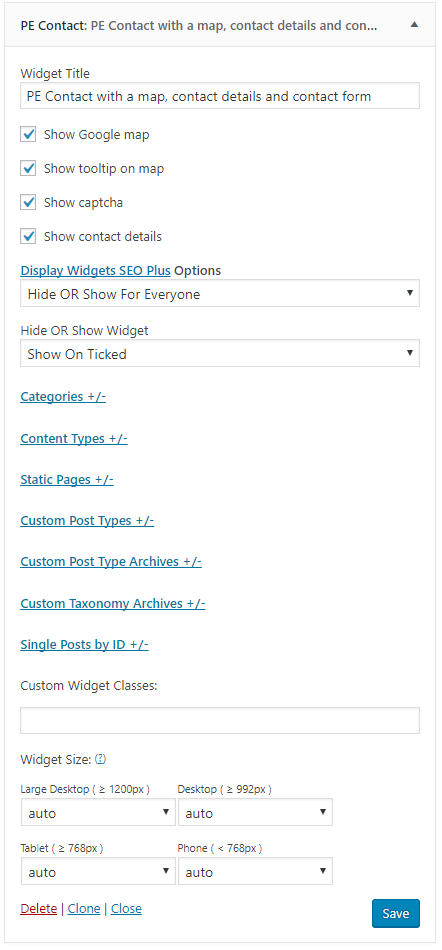
Options:
- Title: title of widget
- Show or hide Google map
- Show or hide tooltip on map
- Show or hide captcha (Google reCaptcha)
- Show or hide contact details
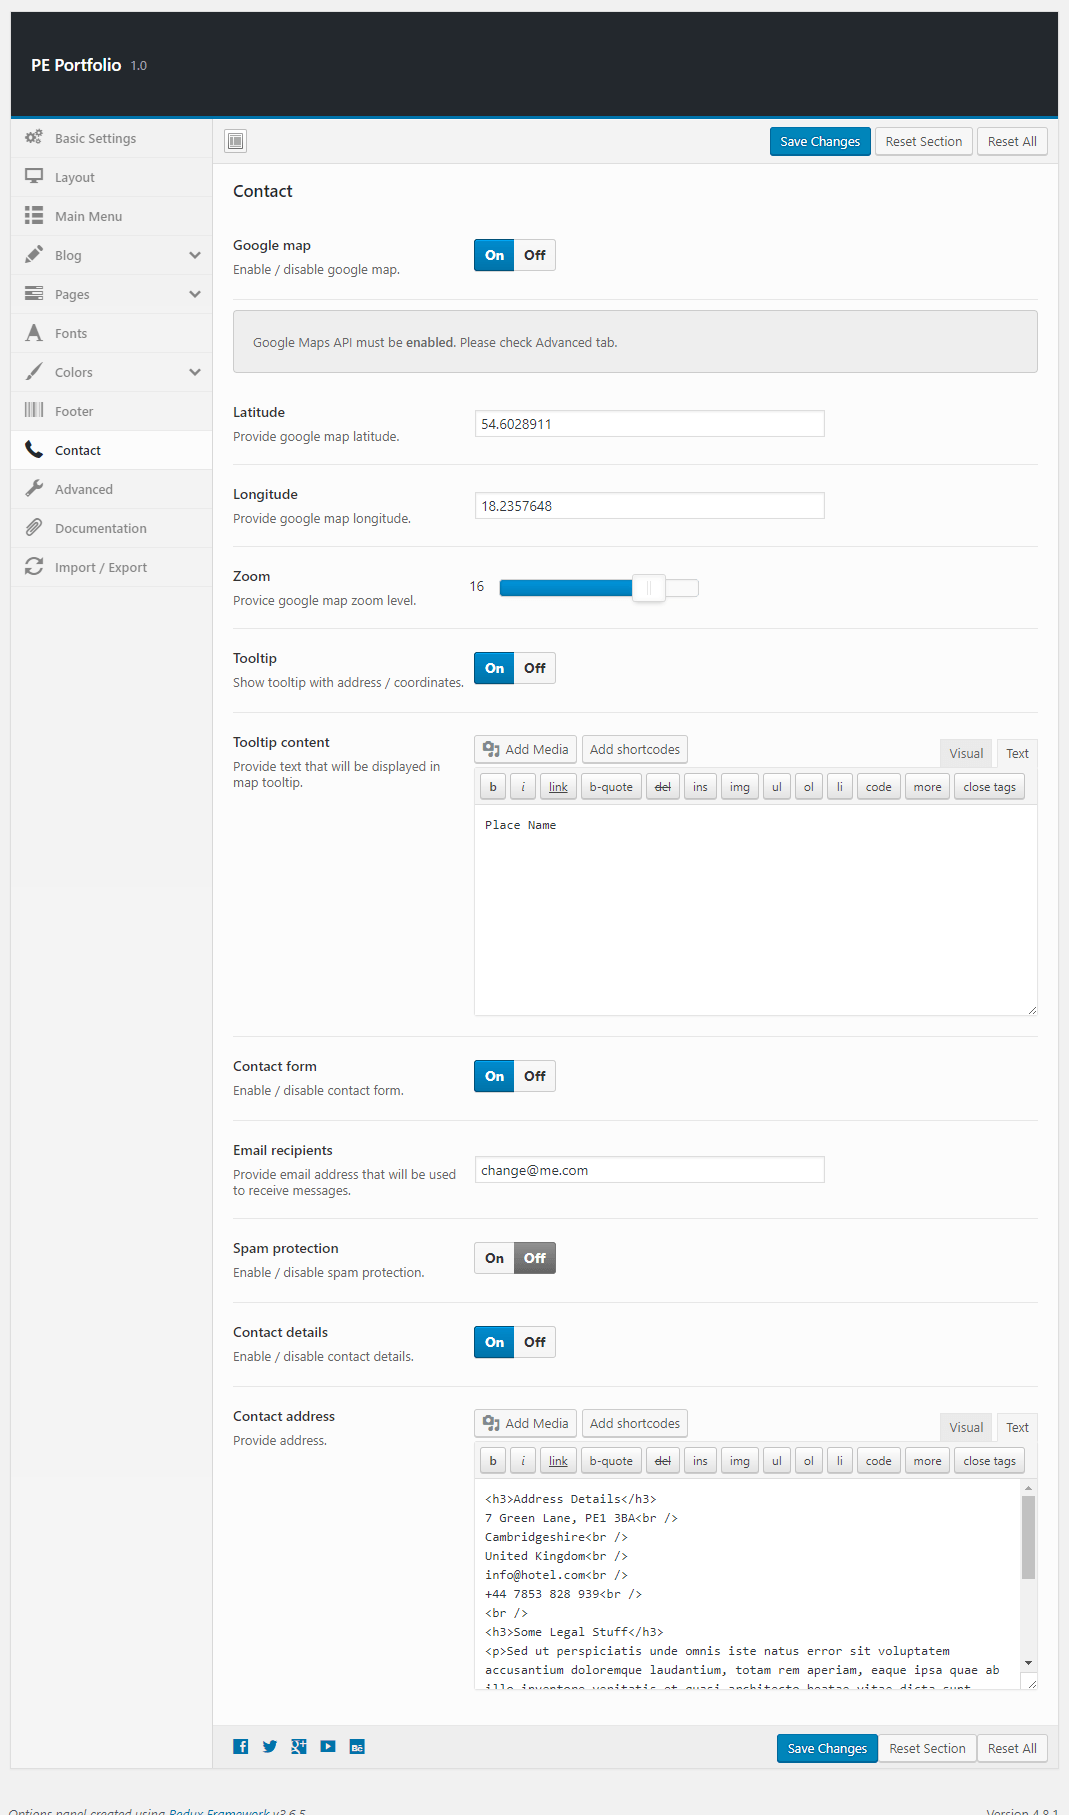
You can set email recipients and map location in Theme Options > Contact tab :
6. PE Portfolio
Built-in widget which allows you to display portfolio (portfolio post type).
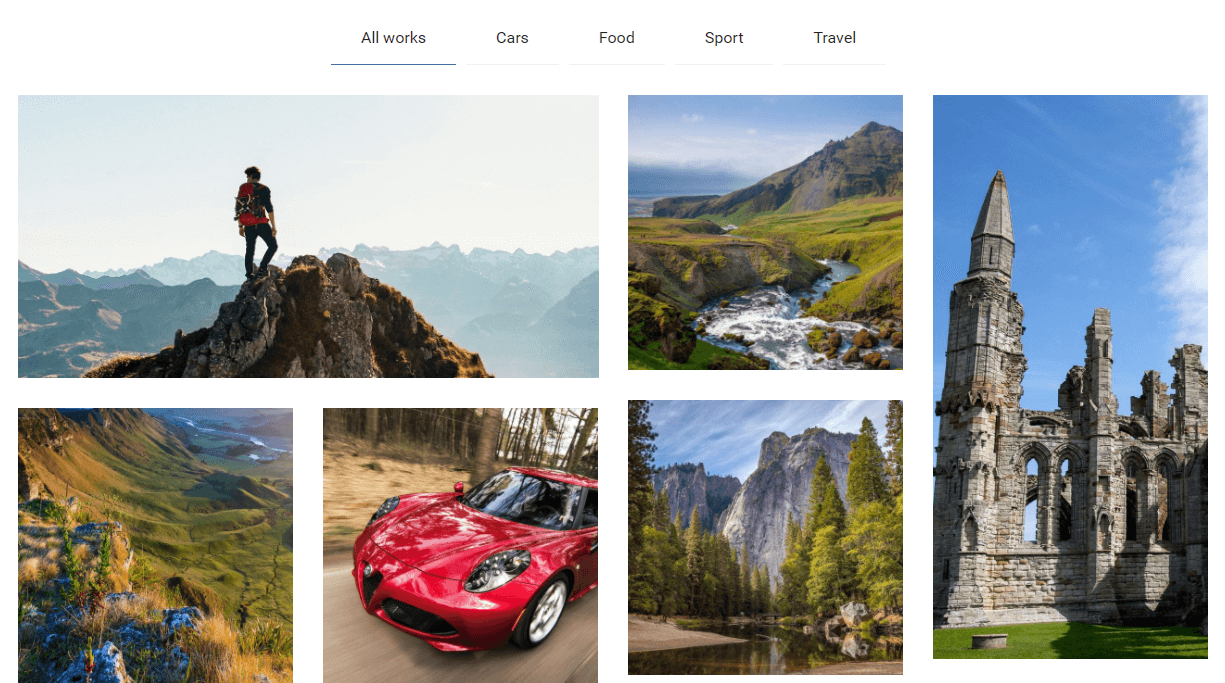

On demo page widget is visible in 'Content Bottom' sidebar.
7. PE Recent Posts
E. ADDING CONTENT
1. Add Post
2. Add Page
3. Add FAQ
4. Add Portfolio Project
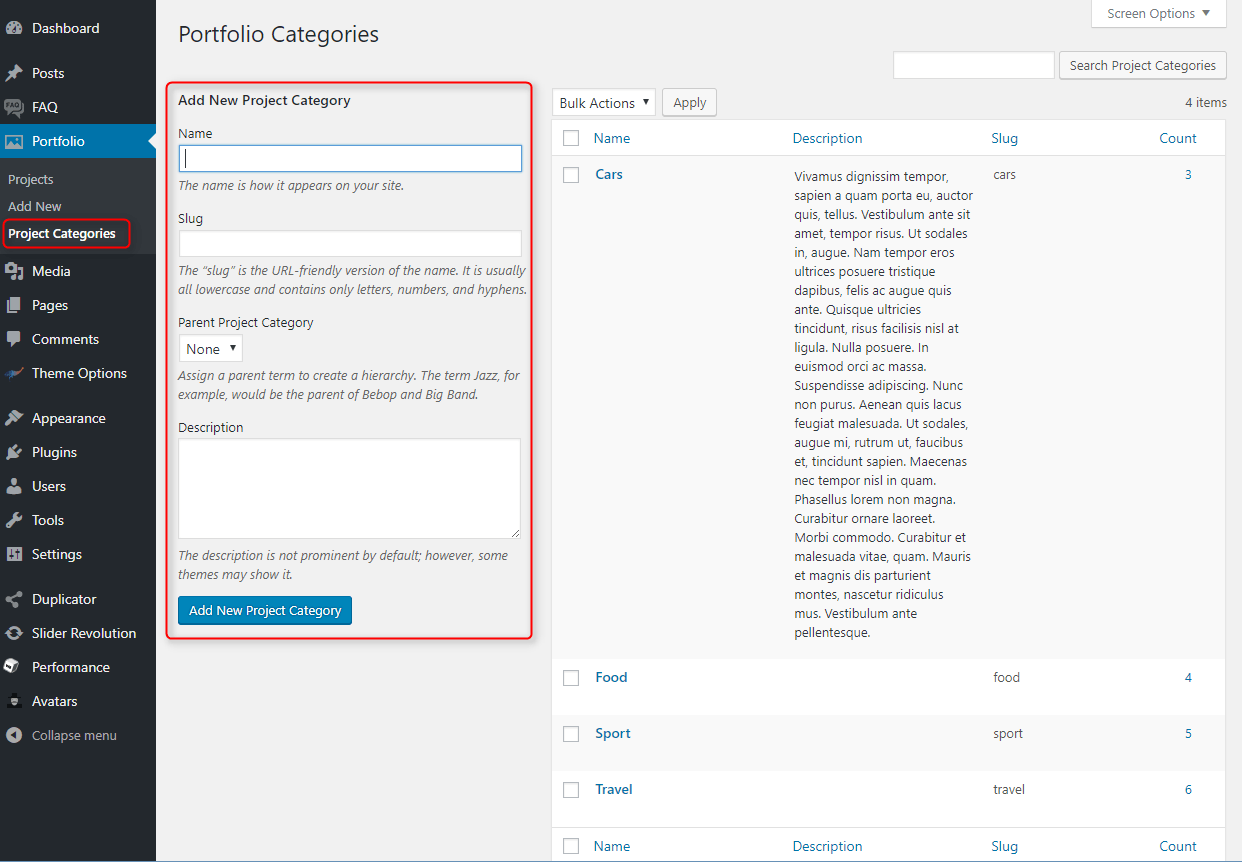
Navigate to Portfolio > Project Categories. Enter name, description and click Add New Project Category
Navigate to Portfolio > Add New. Enter title, description, choose Portfolio Categories, Featured Image and click Publish.

You can also set:
- Project Thumbnail Size - choose the size of thumbnail to display in Portfolio widget or page
- Additional Images - choose additional images to display them on the Single Project page.
- Number of Columns - choose number of columns for additional images.
- Slider Images - choose additional images to display them as animated slider on the Single Project page.
- Video - enter a video url to display a video on the Single Project page.
- Ordering of the project fields - drag and drop fields as you wish.
F. WPML
1. Purchase WPML
2. Initial Setup
3. Translating Pages, Posts and other post types
4. Translating custom post types
5. Translating theme texts and other strings
G. OTHER
1. Classes for widgets
All widgets have additional functionality: add custom class.
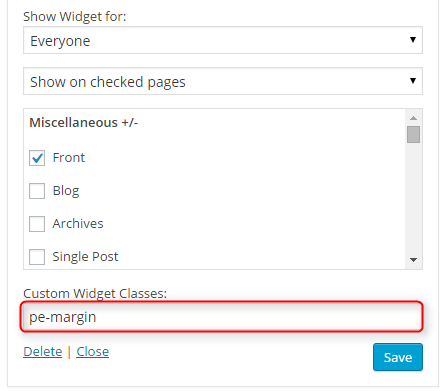
Classes are visible here in the code:

2. Available classes
pe-color - provides different widget layout
pe-margin - removes all margins for widget.
text-right - aligns text right
text-left - aligns text left
text-center - aligns text center
pe-section-space - removes space above and below section.
pe-section-space-top - removes space above section.
pe-section-space-bottom - removes space below section.
no-bold - removes bold font weight from string.
3. Bootstrap 3 Grid classes to specify each widget width
4. Available shortcodes
6. Typography
7. Shortcode Generator
H. OPTIMIZE YOUR SITE
I. SOURCES AND CREDITS
Plugins:
- Duplicator (Create a backup of your WordPress files and database. Duplicate and move an entire site from one location to another in a few steps. Create a full snapshot of your site at any point in time.) http://lifeinthegrid.com/
- Display Widgets SEO Plus (Adds checkboxes to each widget to show or hide on site pages.) http://stallion-theme.co.uk/
- Redux Framework https://reduxframework.com/
- CMB2 (CMB2 will create metaboxes and forms with custom fields that will blow your mind.) http://webdevstudios.com/
- Revolution Slider (Revolution Slider - Premium responsive slider) http://themepunch.com/
- W3 Total Cache http://www.linkedin.com/in/w3edge
- WordPress Importer https://profiles.wordpress.org/wordpressdotorg/
- WP User Avatar http://wordpress.org/support/plugin/wp-user-avatar/
Images used on the demo page:
